
13 November : Lorient – Hennebont (8NM)
The big day is approaching, the one when UtPåTur will leave her wet element to be parked safely ashore for the winter… The boatyard that will welcome our beloved boat is located in Hennebont, deep up the Blavet River. We take advantage of good conditions the day before to make our way there.
We pass, then leave Lorient behind, and head up the river. Meander after meander, the town fades away and the landscape becomes increasingly wild. Once past the Bonhomme Bridge, we motor-sail on perfectly flat water, between autumn forests and boat graveyards. The colours are absolutely stunning in the low-angle light…
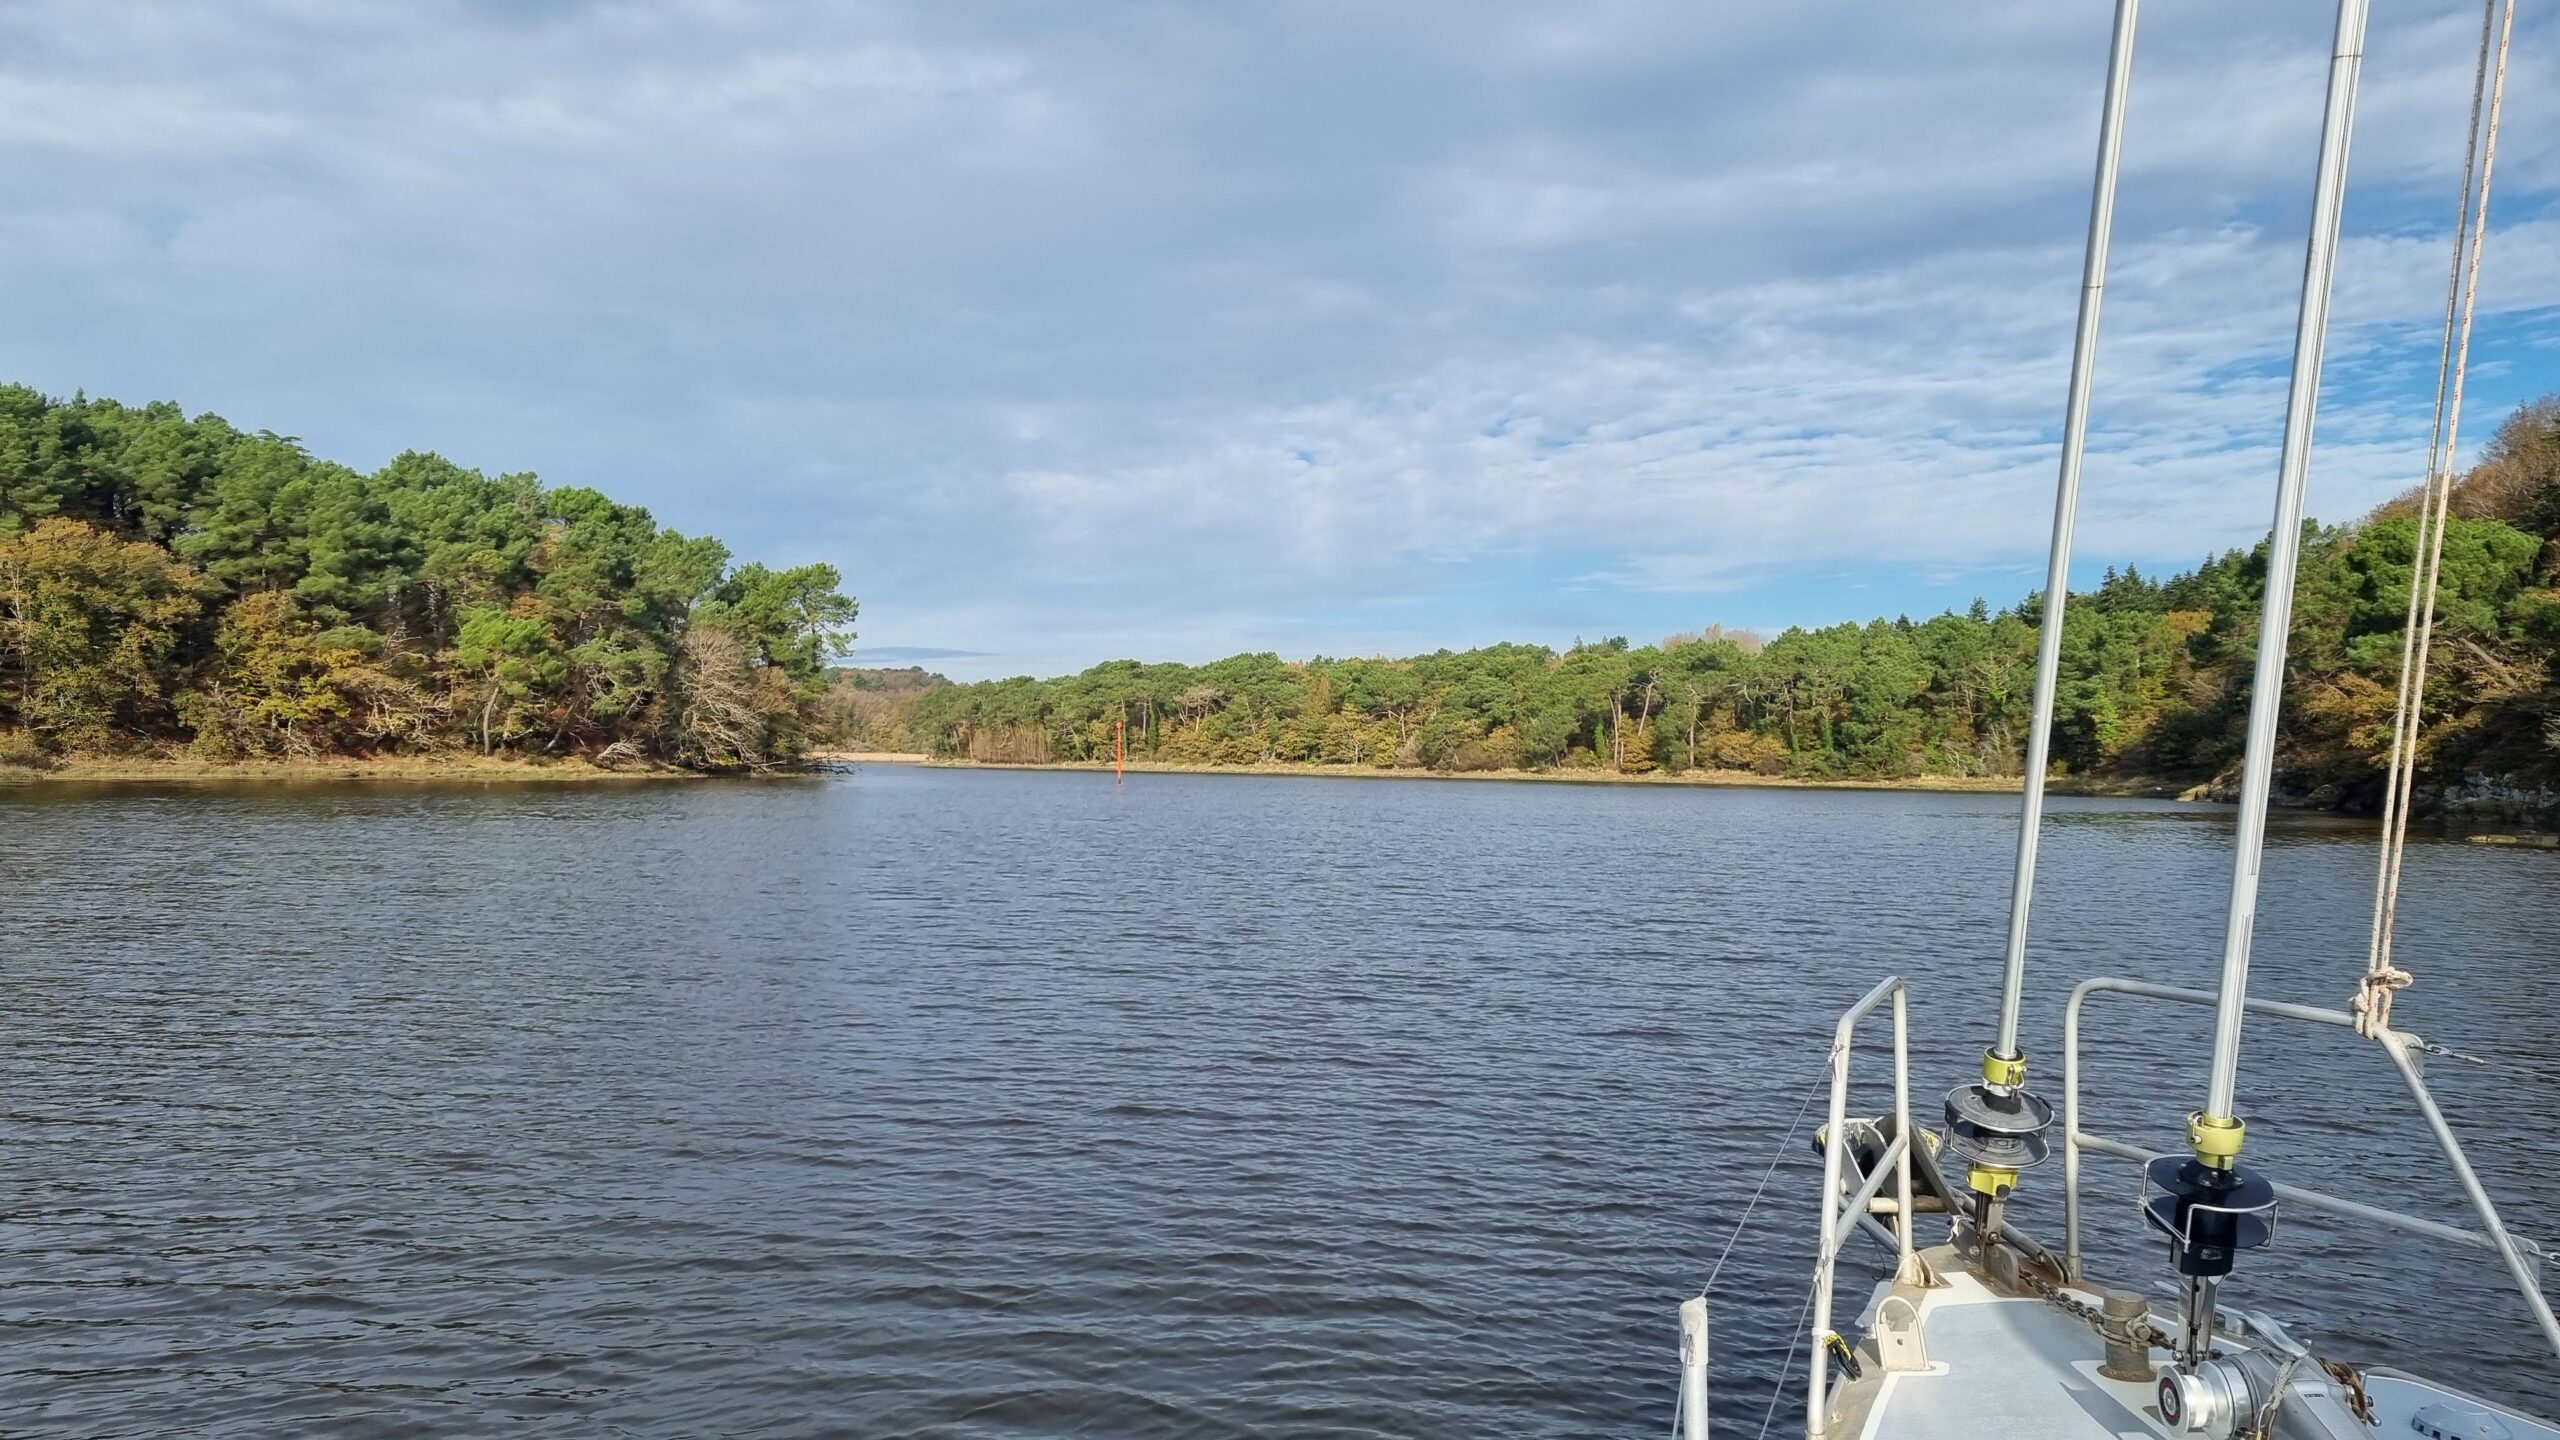
Countryside navigation on the Blavet river
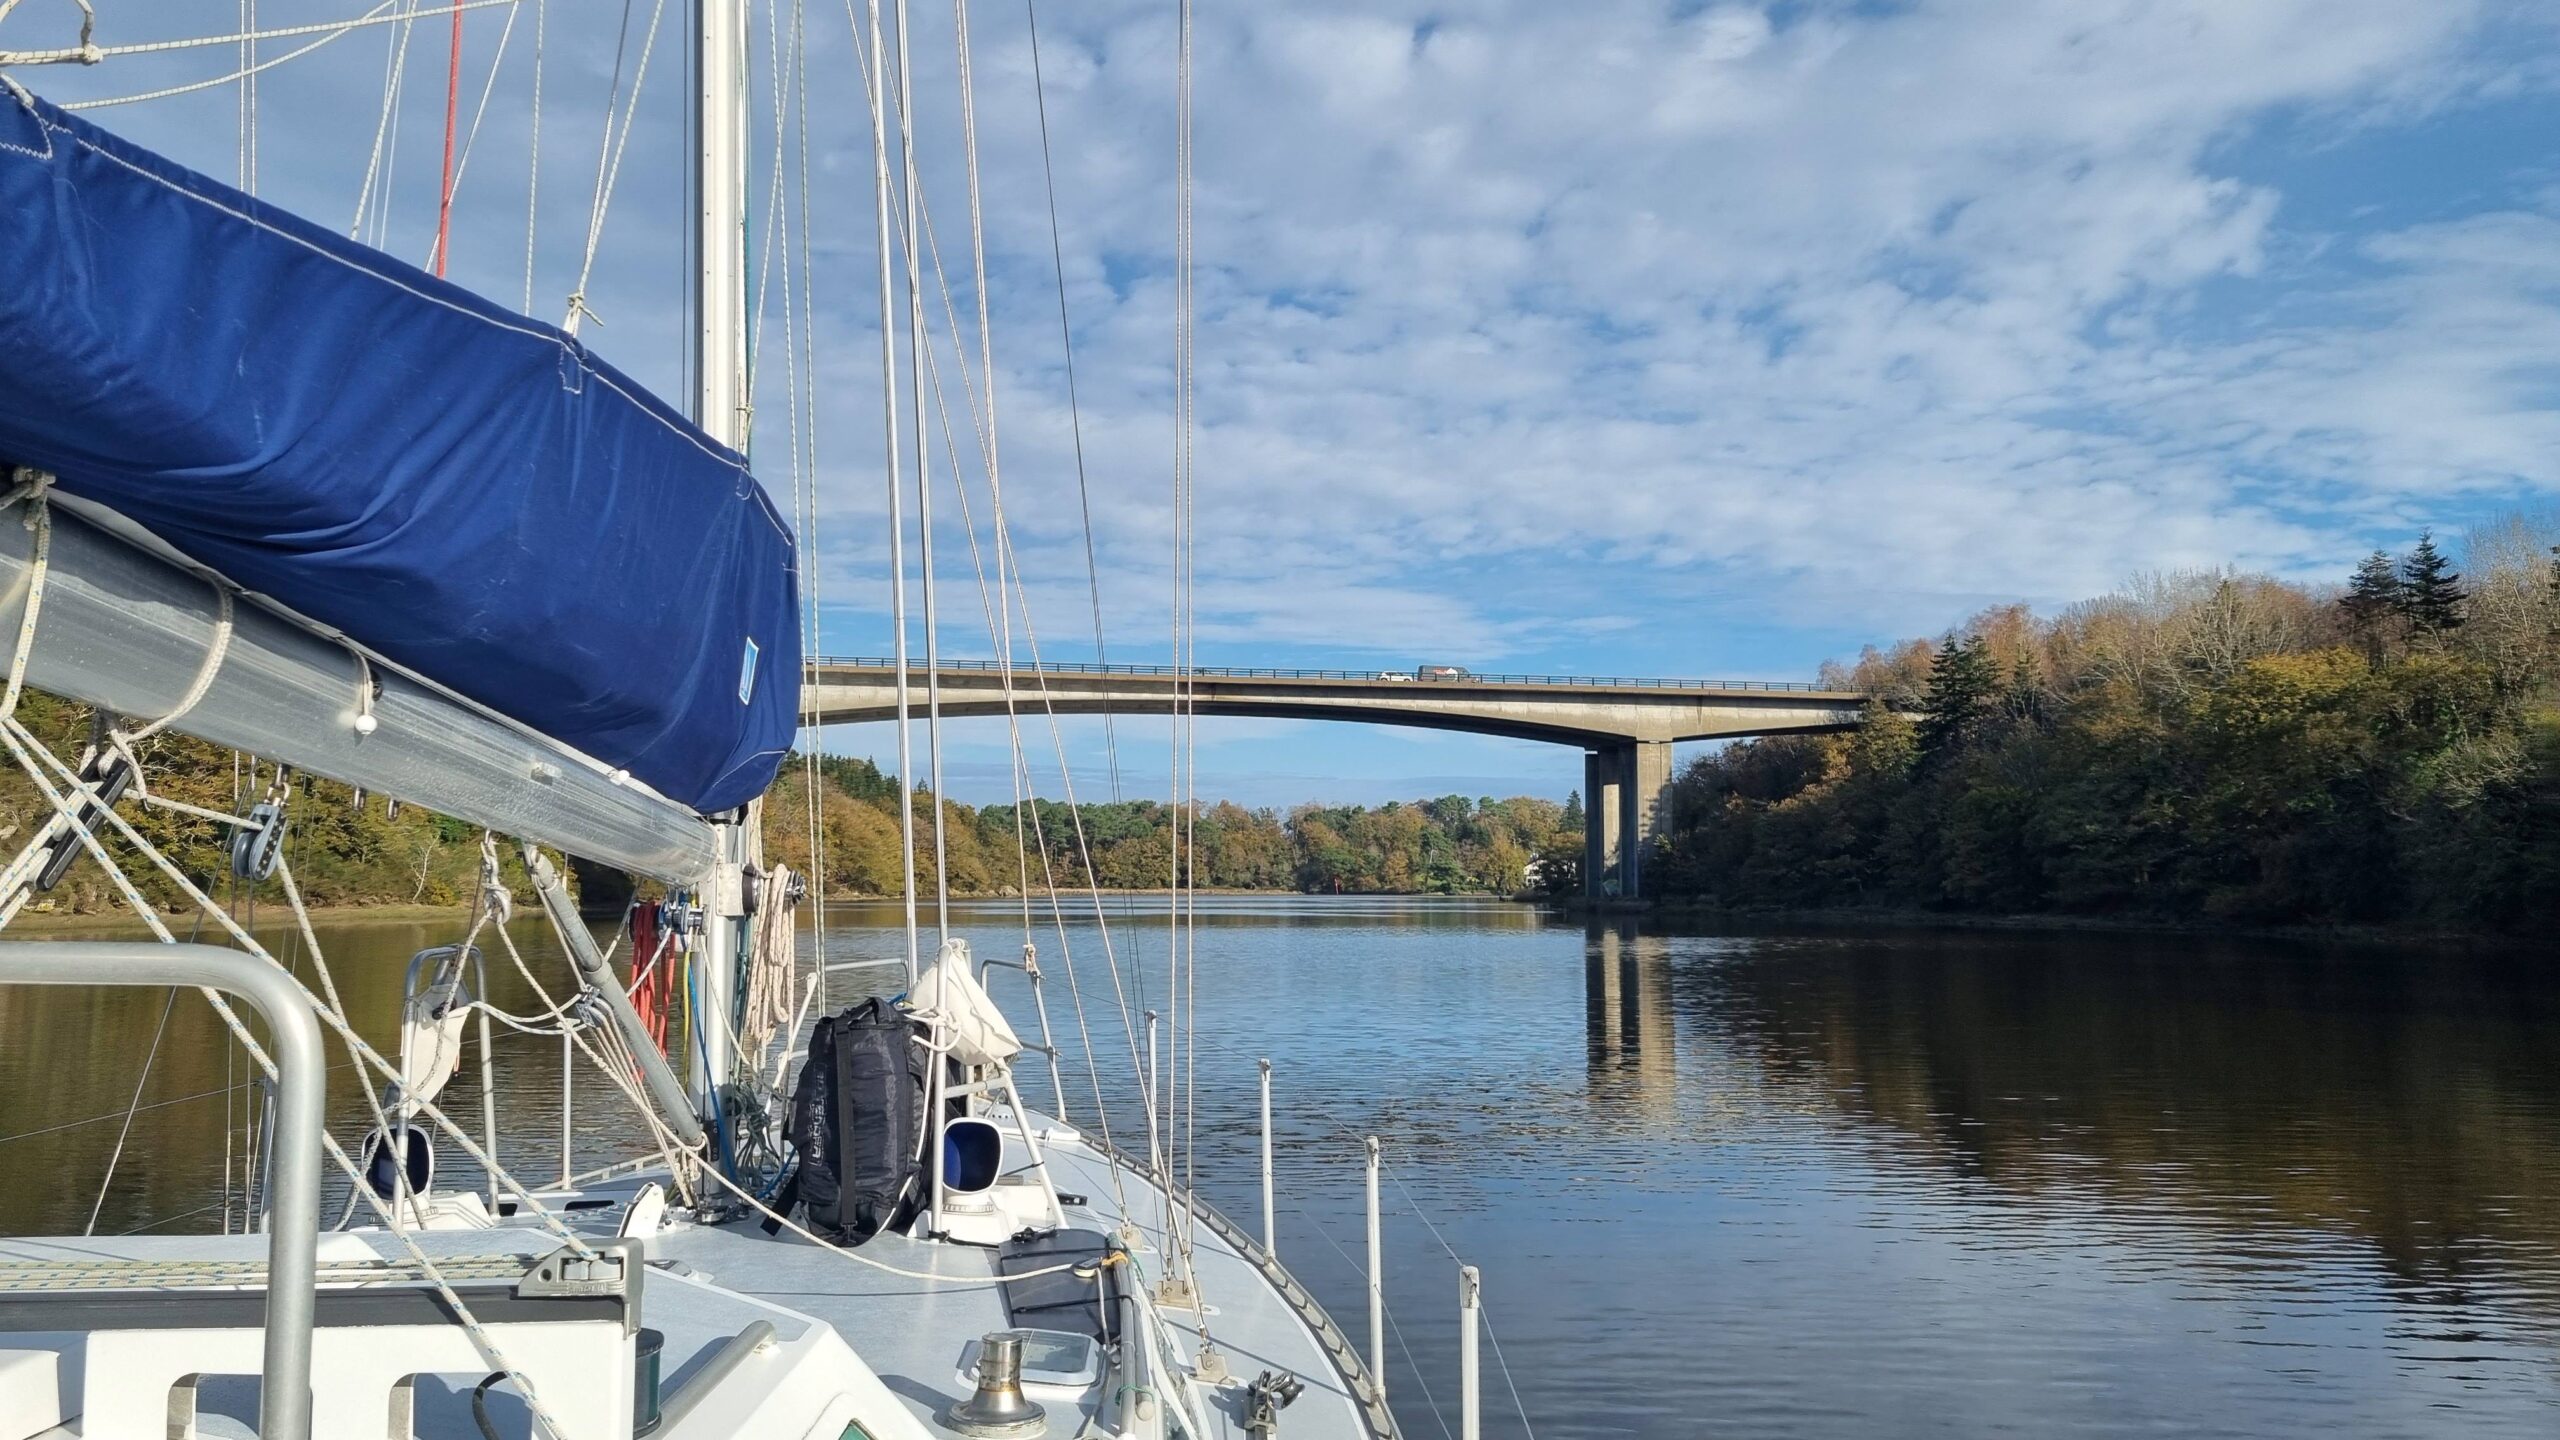
Beware, the motorway bridge over the Blavet river is about 2m lower than what the maps show!
The second bridge approaches. We pass underneath without issue, but with much less clearance than expected… It is clearly lower than indicated on the nautical chart, which shows it at 22m. The boatyard manager will later confirm having measured 20m at 5.30m of water depth…
We barely have time to think about it before arriving in Hennebont. The harbour master finds us a spot for the night and even helps us moor to the line of buoys—what a service! The afternoon is spent unrigging the mainsail and tidying up the deck. This time, we are ready for winter…
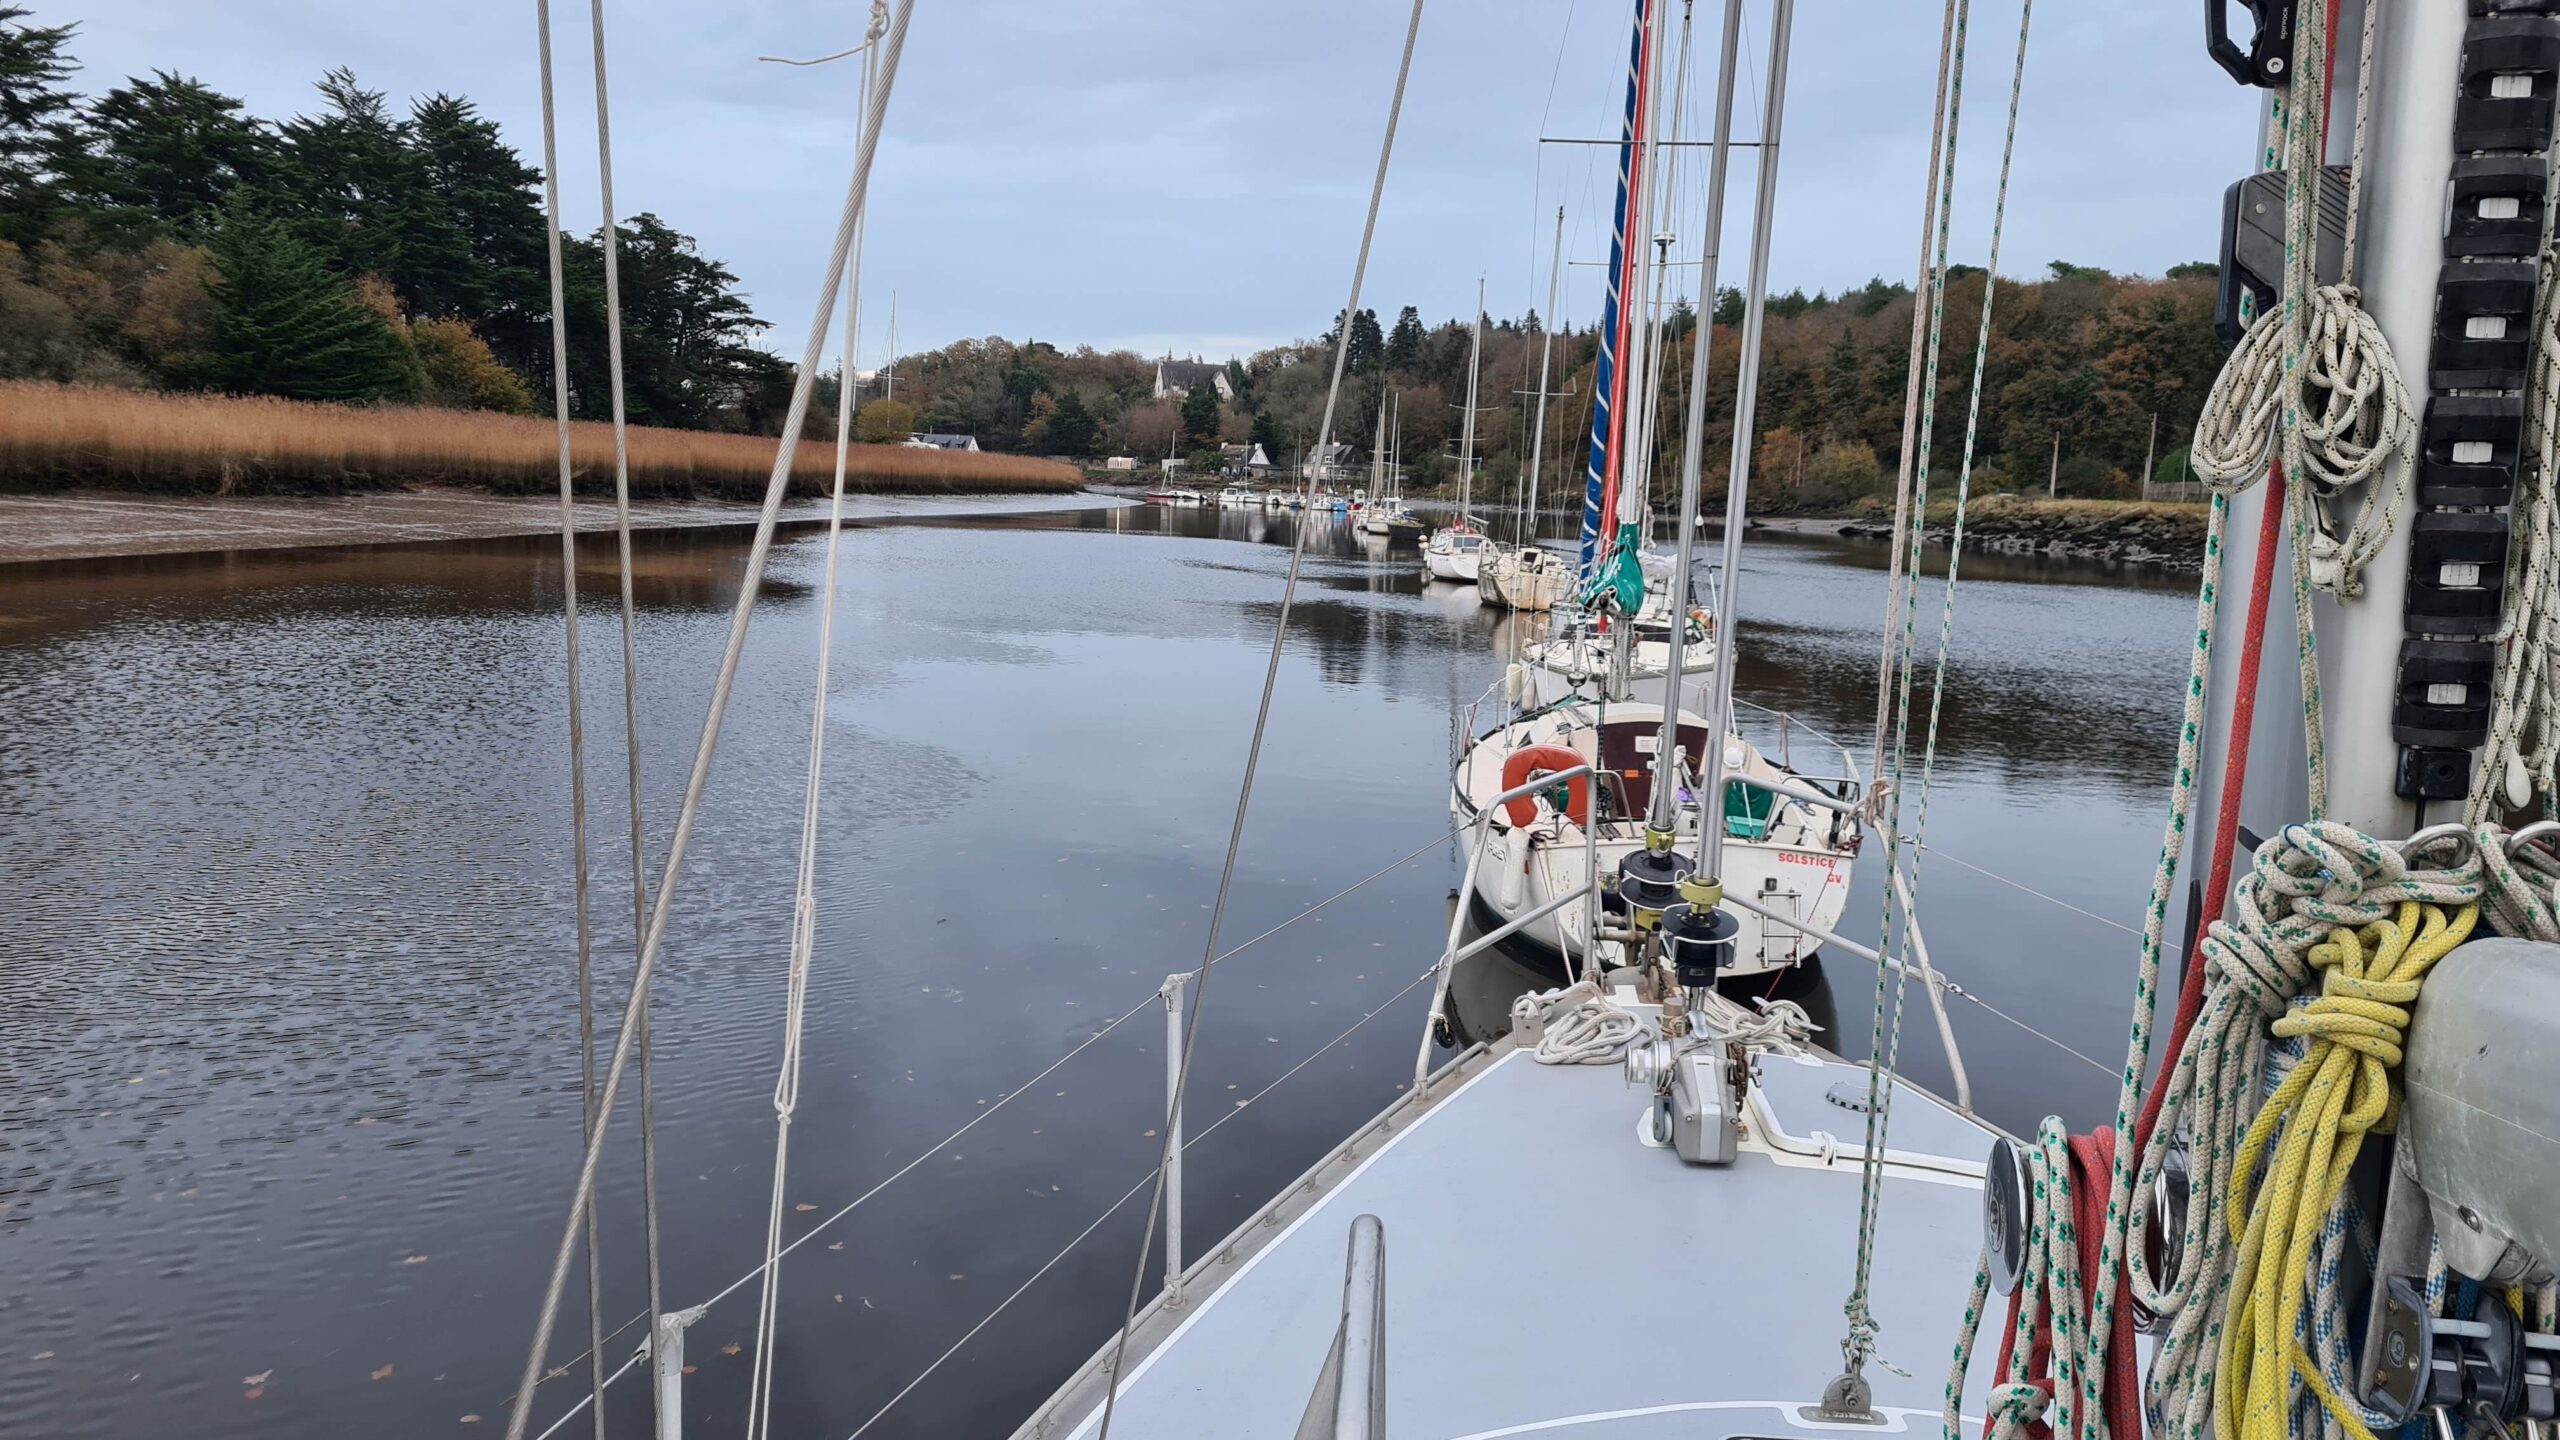
Last night on the water on the Blavet river
Night falls early at this time of year, but it is still very mild. Our shower cabin has now been converted into a sail locker and is unusable, so we have to wash outside. The water is nice and warm and the experience surprisingly pleasant—even in mid-November, who would have thought! We savour every bit of our last night afloat; tomorrow our floating home will no longer be quite the same…
November 14–17: first days ashore
At noon, at high tide, we are ready for the haul-out. The tractor arrives and lowers the travel lift into the water. All that remains is to manoeuvre UtPåTur, centreboard up, pushed to port by the current and to starboard by the wind, so she lines up perfectly. Yann, sitting behind de wheel, confirms that we are well positioned, then lifts the hydraulic pads one by one that will support the boat. That’s it—we’re no longer floating… Ahead slow, and UtPåTur now rolls up the Ty Mor slipway, heading for the hardstanding.
Tow, tow, tow your boat!
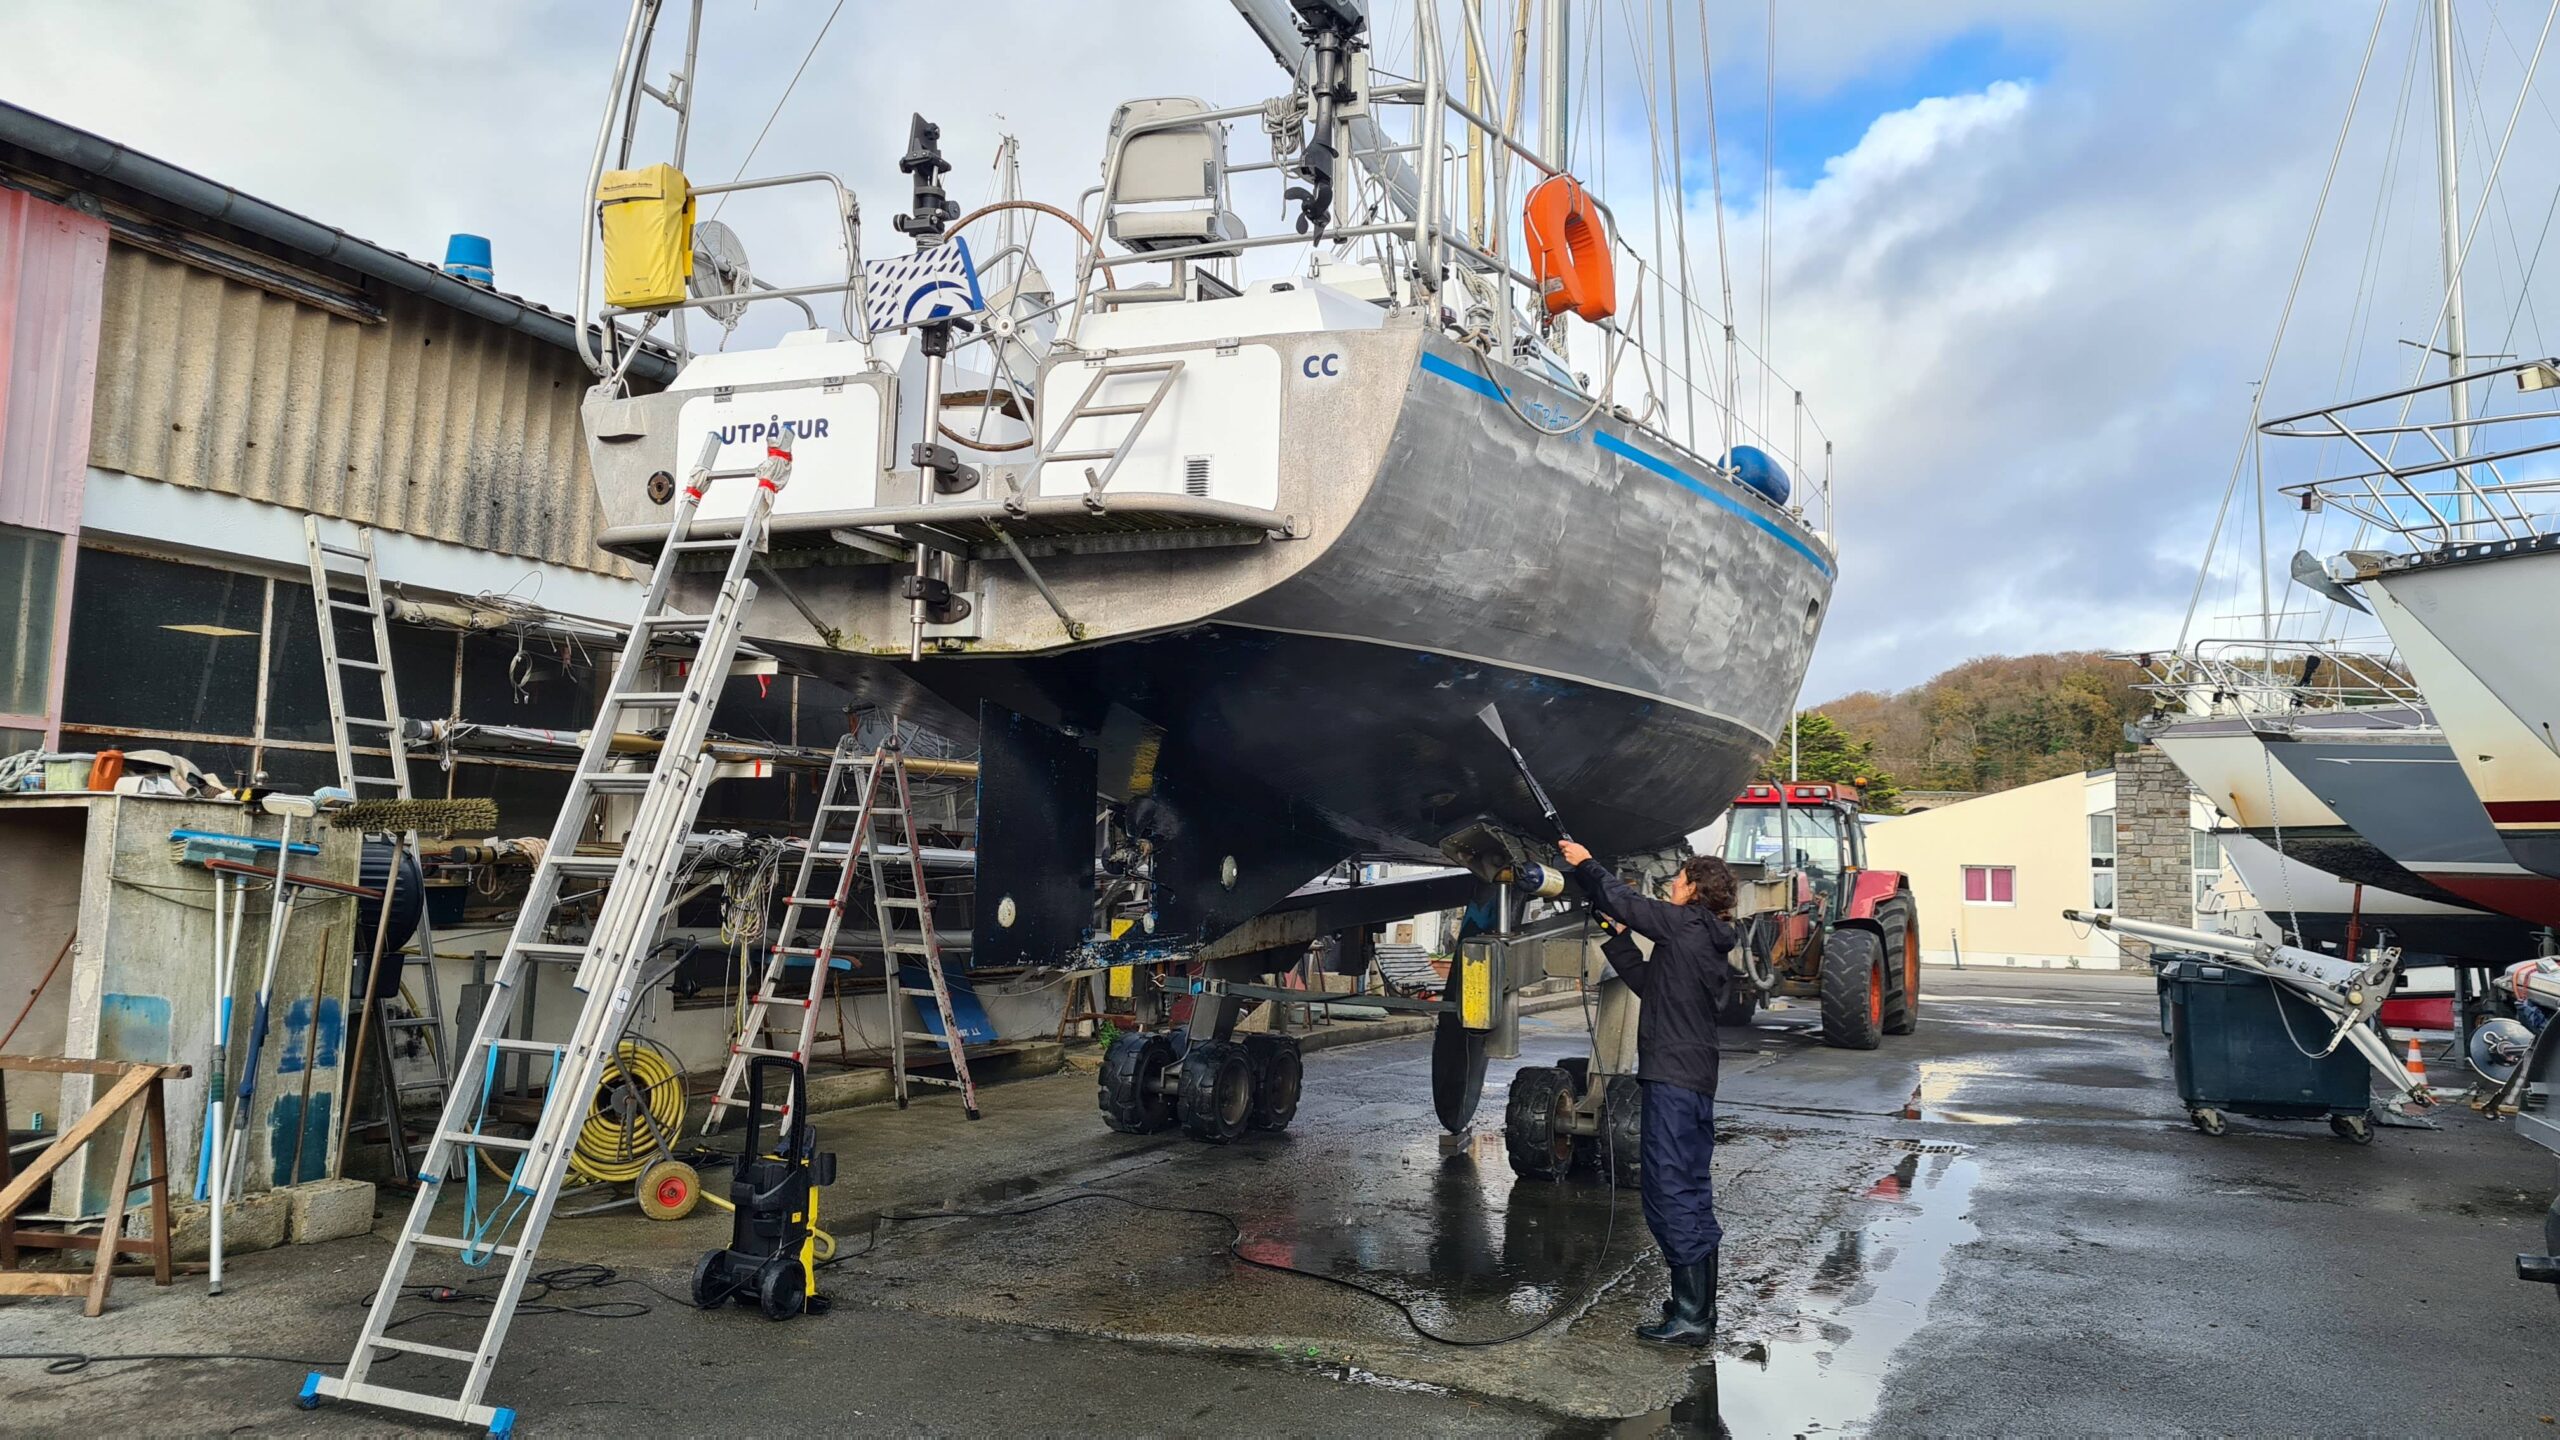
Big autumn clean-up
First observation: the hull is incredibly clean! Between the cold Norwegian waters and the ultrasonic antifouling system we systematically used when not sailing, the hull only shows a thin layer of slime at the waterline and barely a few baby barnacles. We still give it a thorough pressure wash to clean everything up.
We stay on the trailer over the weekend, with good clearance under the boat. This allows easy access to the seacocks, especially the black water tank valve, which can always use a good cleaning (urine in contact with seawater creates limescale at an impressive speed). We had been soaking the tank in white vinegar for several days to dissolve the layer of deposits that had formed, and naturally many pieces ended up stuck in the valve. We clean the hose with a drain snake, grease everything generously, and hope for a few months of peace… We are also able to clear the seawater intake valve for the service circuit (toilet flush, tap, and water maker), which was blocked by… a chestnut! Good thing it didn’t get lodged in the engine intake right next to it…
But the main mission during these days on the trailer is to remove UtPåTur’s appendages. First the rudder, which we need to drop in order to remove the propeller shaft and work on our leaking gearbox. It is held by three bolts, so we should manage. Of course, reality is a bit more complicated: we need to disconnect the steering ram, the angle indicator, and remove the quadrant. The quadrant hits its steering stops and prevents the rudder from turning 90°, which is precisely the only position in which it can be lowered. The bolts holding the gudgeon under water are also not easy to remove, stuck in sand and glued by some corrosion. And above all, we have no idea how much the rudder weighs. So we take endless precautions, securing the descent with lots of lines and stays. In the end, we take our time and everything goes very smoothly—the rudder is actually quite light! After a few hours we remove it ourselves like grown-ups. We are proud!
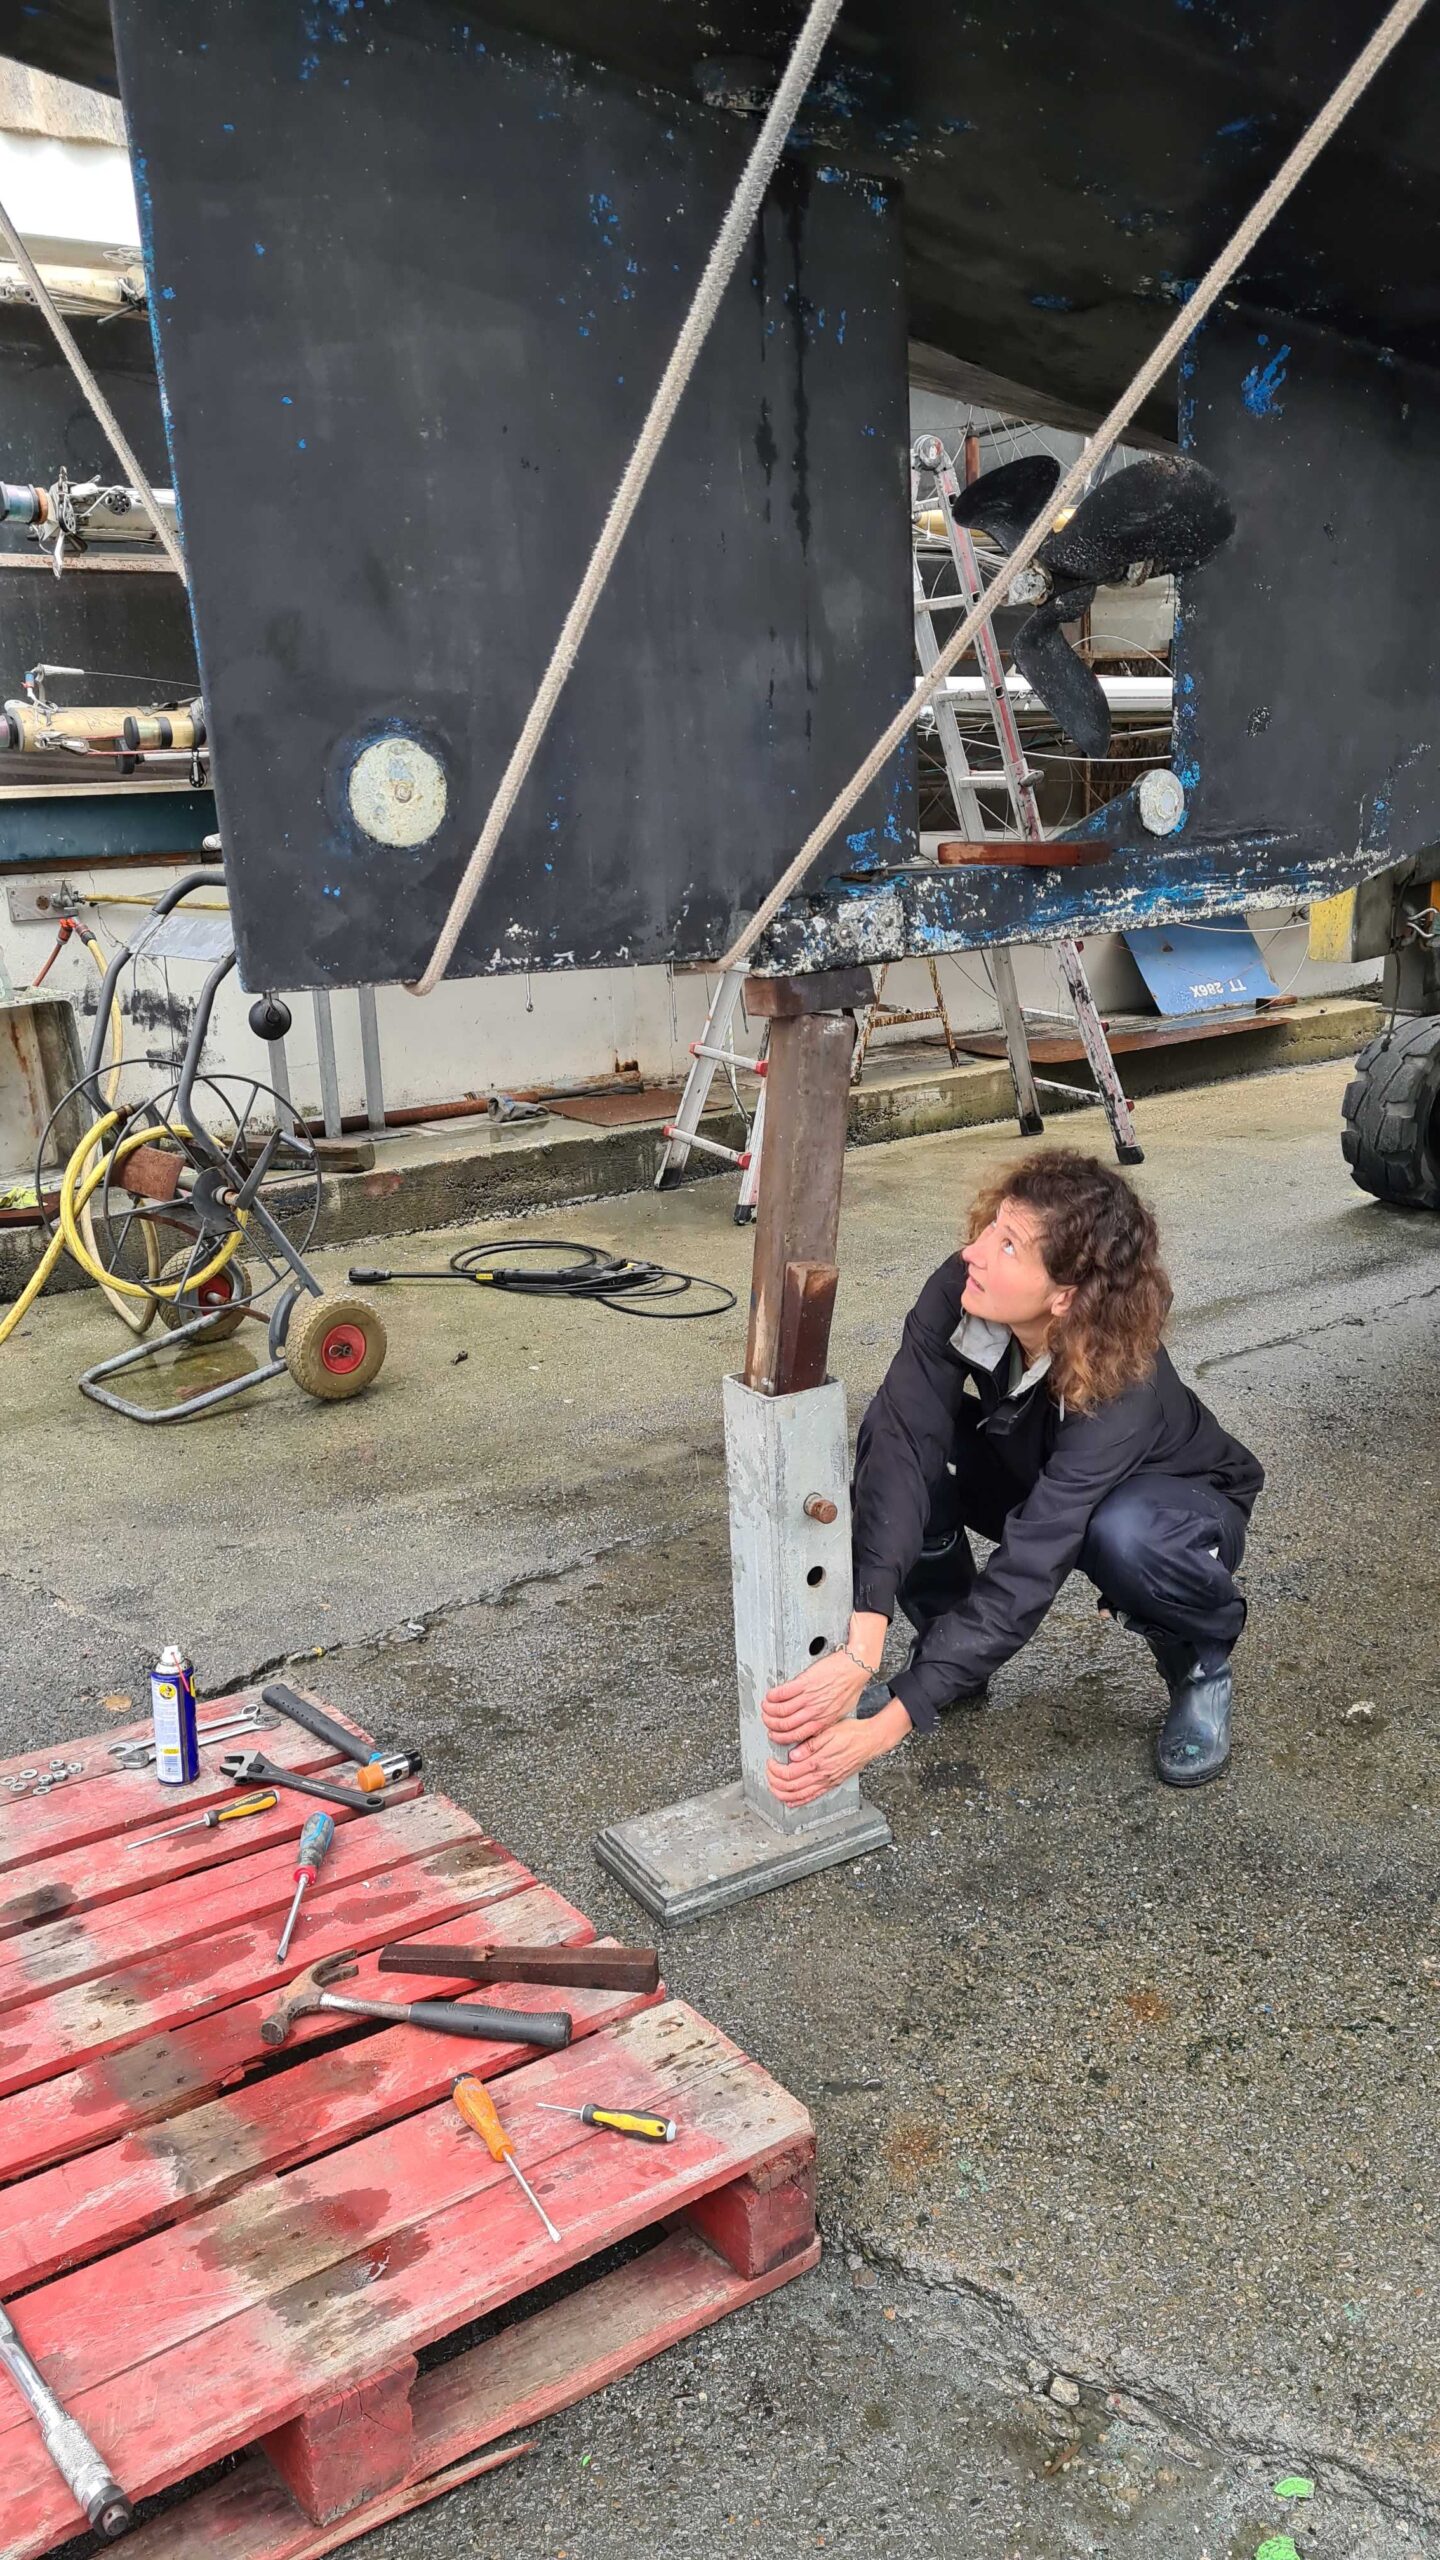
Now, we are certain the rudder will not fall off..
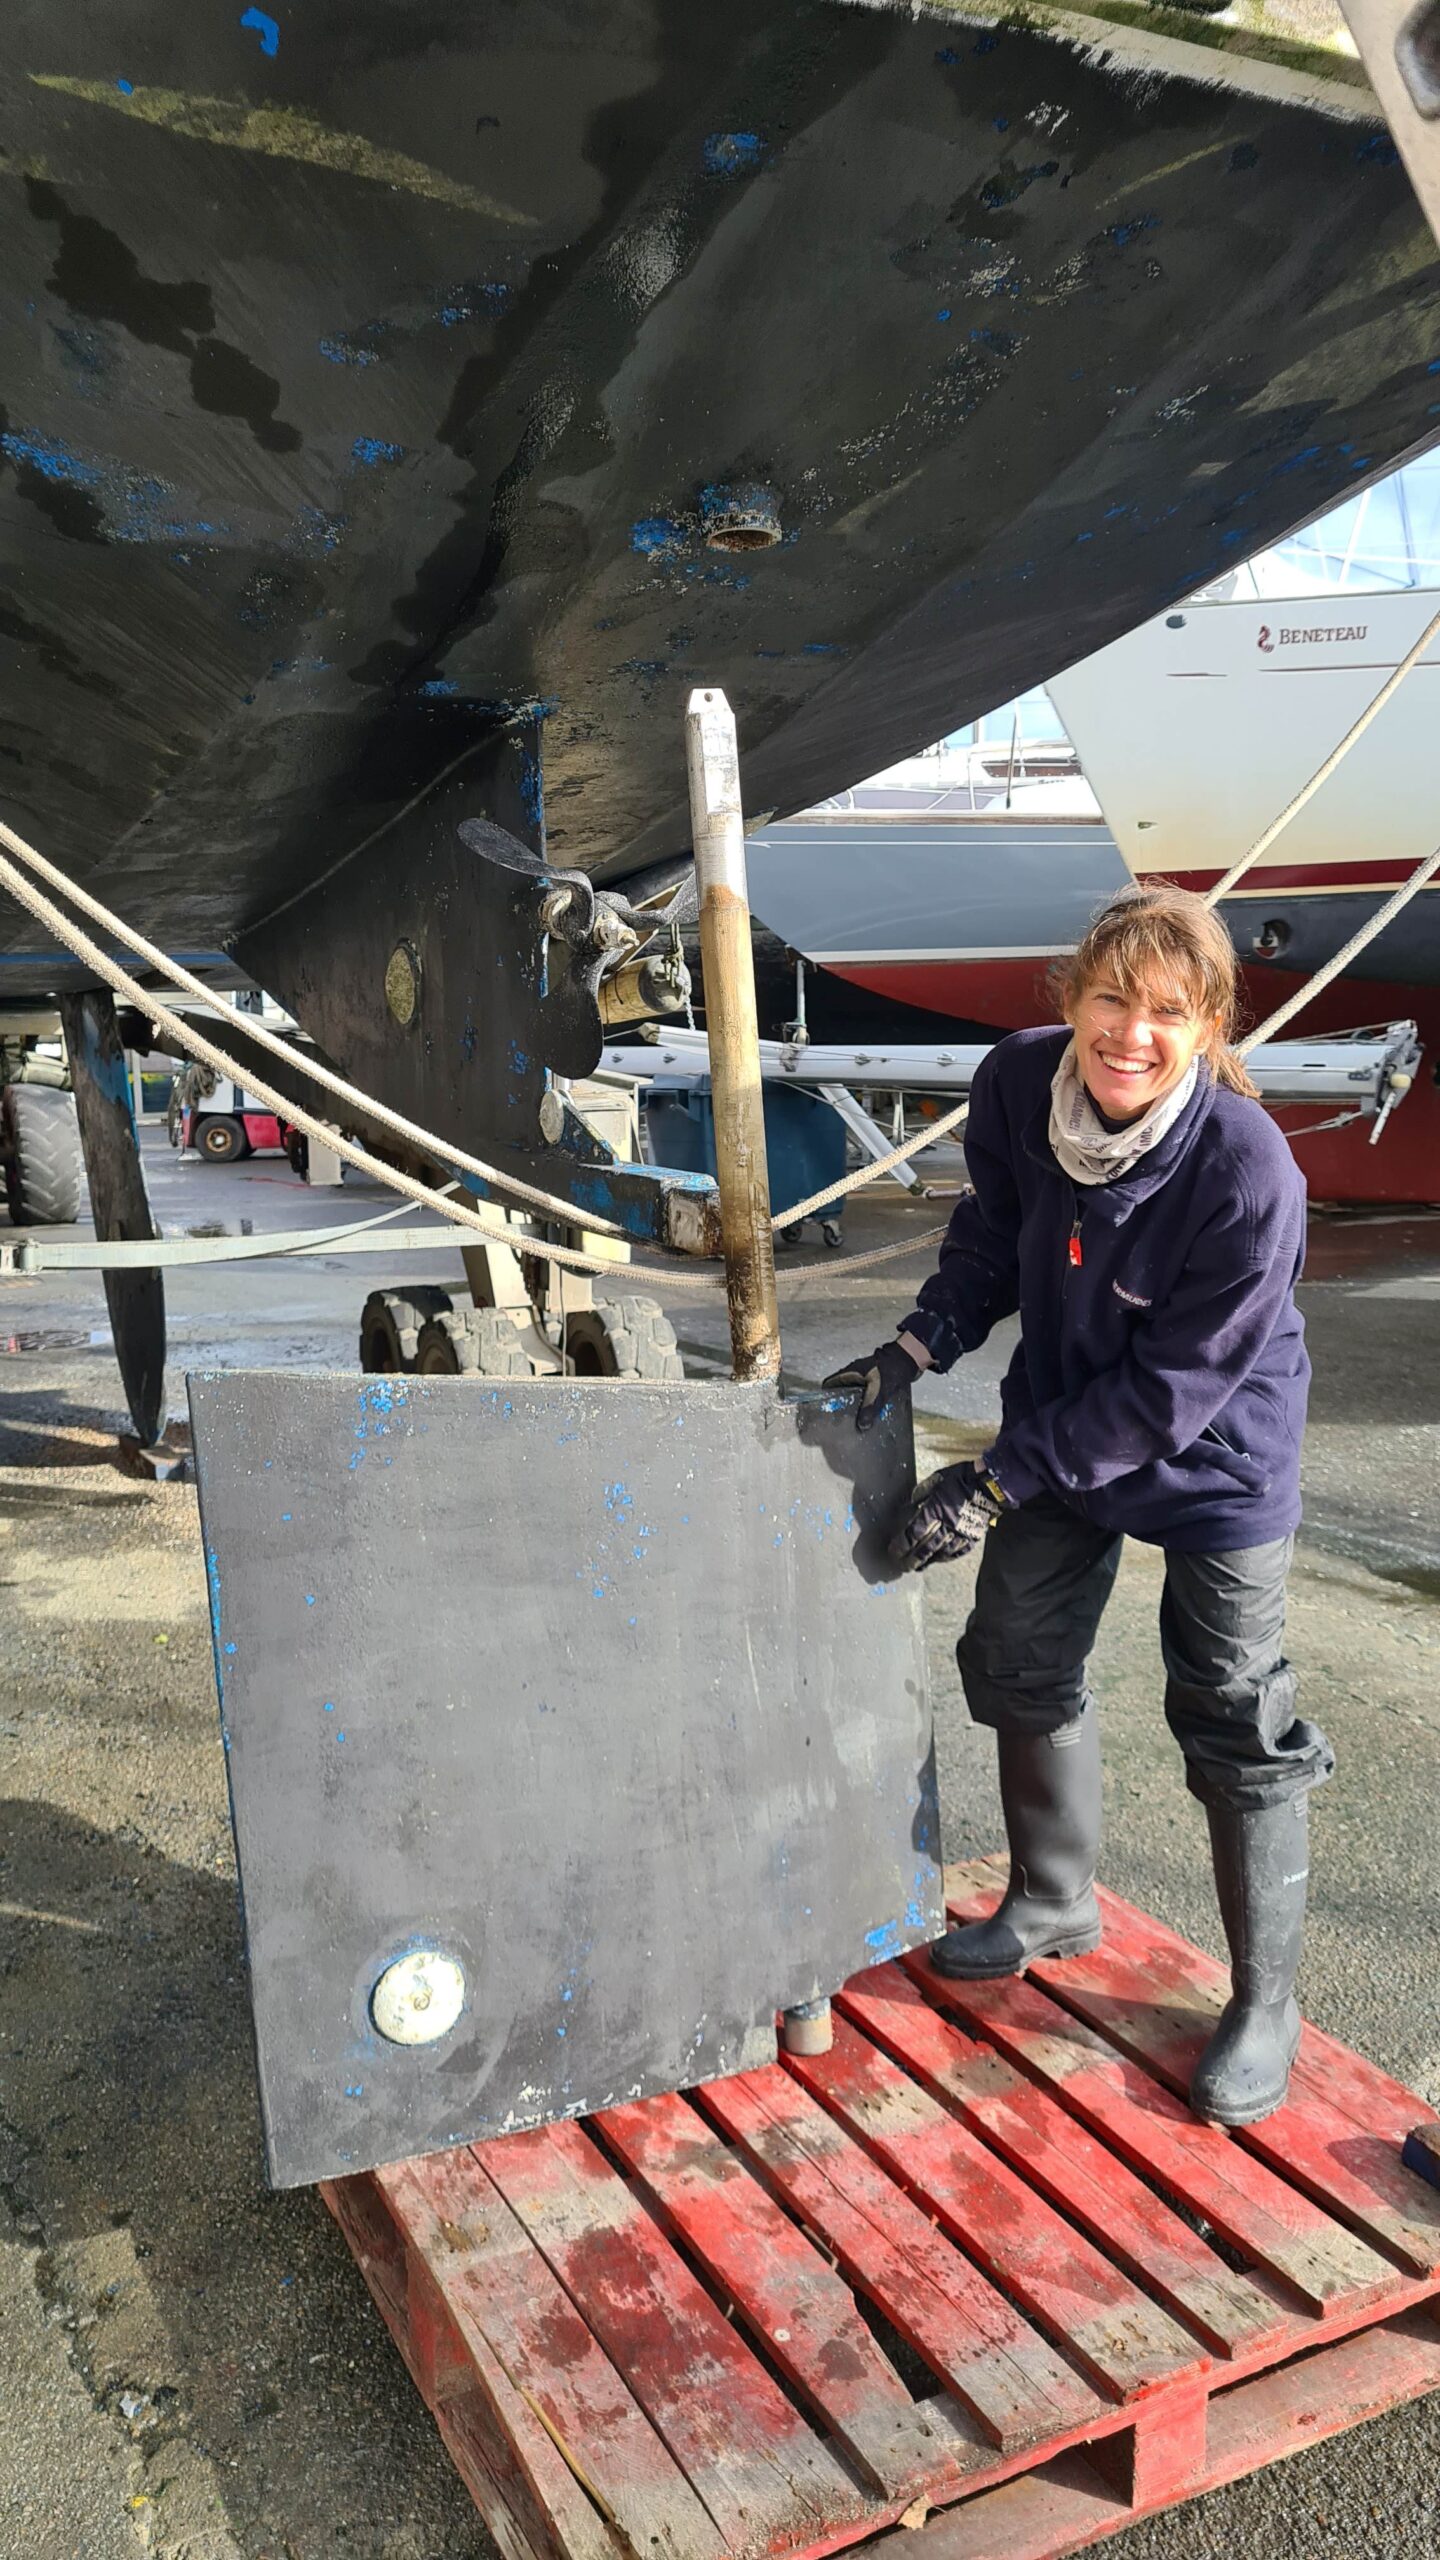
… and here it comes nicely down
But that was only the warm-up… The real challenge is removing the centreboard to understand why it jams when we tension the rigging. First step: opening the centreboard trunk. This starts with dismantling the saloon table, then undoing the 72 (!!) bolts that hold the plate in place. Once the trunk is open and the anti-turbulence plate removed, we have to drive out the pivot pin and then manually slide the centreboard back until it comes out of the trunk. Easy—it’s very light, barely 80 kg (…). We’re a bit sceptical, but we have a powerful ally: Jean-François André, the designer, builder, and former owner of the boat, makes the trip from Brest to help us with the dismantling and the investigation into the cause of the jamming. The three of us, with his experience of having done the operation before, manage to remove the centreboard in a couple of hours. A huge thank-you for the help!!! The trunk is marked where the Ertalon friction pads are located, which seem to have swollen and deformed in the water. In principle, flattening them—and sanding them a bit—should be enough to fix the issue. As for putting the centreboard back in… we’ll worry about that later!
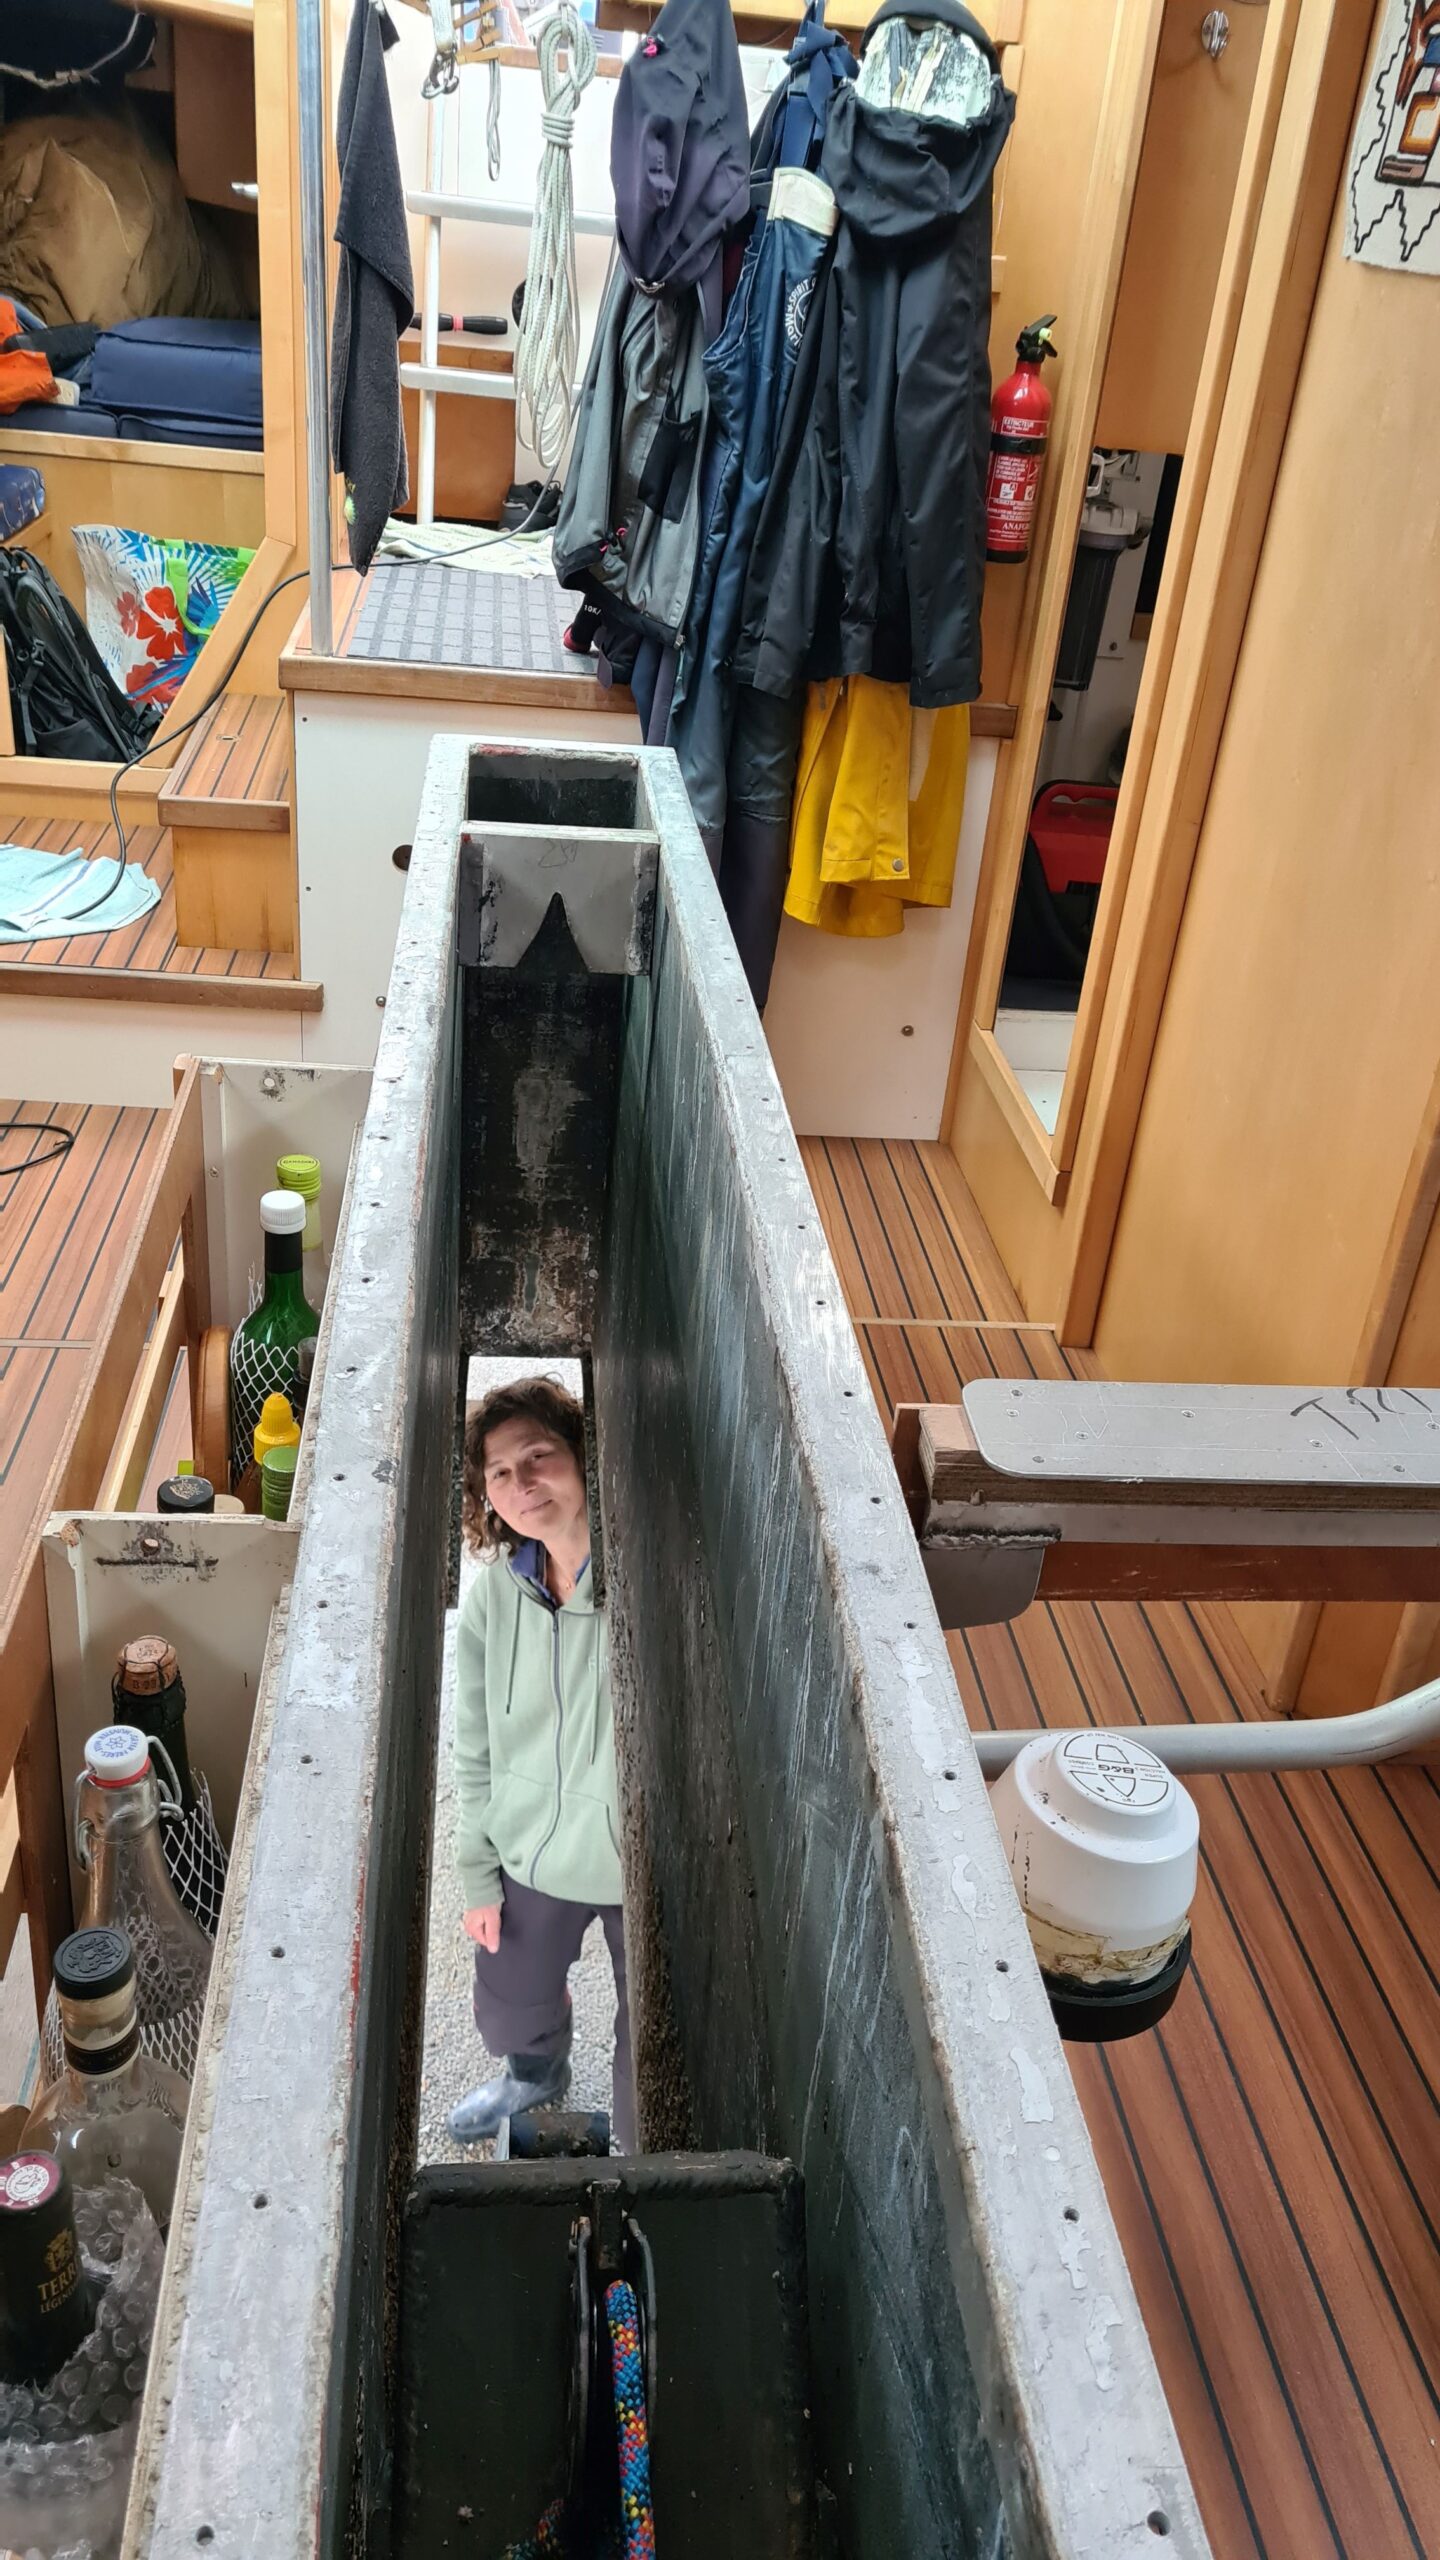
We have sort of a hole in the boat…
Now freed of her appendages, UtPåTur can take her definitive winter parking spot… And we can open our big Excel job list. Most of the technical problems encountered this year have gradually accumulated there over the miles. We have also added a few improvements we have in mind, and ended up with a to-do list of nearly forty lines… Time to get to work!
November 18–25: taking the boat apart…
The first days in the boatyard are never the most enjoyable. Our cute little floating home is now a complete mess, without a table, with tools everywhere, her cleanliness seriously threatened by the mud of the yard…
To fix things, you first have to take them apart. So we gradually strip down our beloved boat, which is not a particularly pleasant feeling.
We start by emptying out our clothes, the equipment we want to replace, piles of nautical guides and charts of Northern Europe, and the dishes we haven’t used in a year and therefore don’t need to keep. Then we remove everything perishable, keeping only what’s necessary to prepare good hot lunches. Finally, we winterize the boat, as mornings suddenly become quite cold. Everything is relative of course, but whether it’s -1°C here or -25°C in Norway, fresh water freezes just the same. Each system is therefore either drained or protected with antifreeze. A bit of fresh grease on the propeller blades and UtPåTur is ready to face the harsh Breton winter!
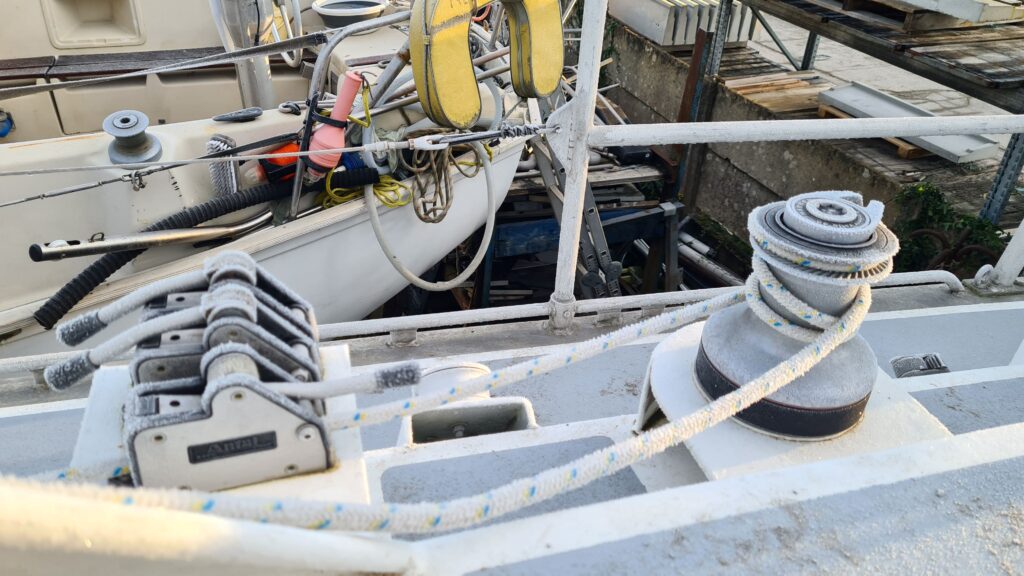
Brrr, fortunately we have nothing to winch this morning…
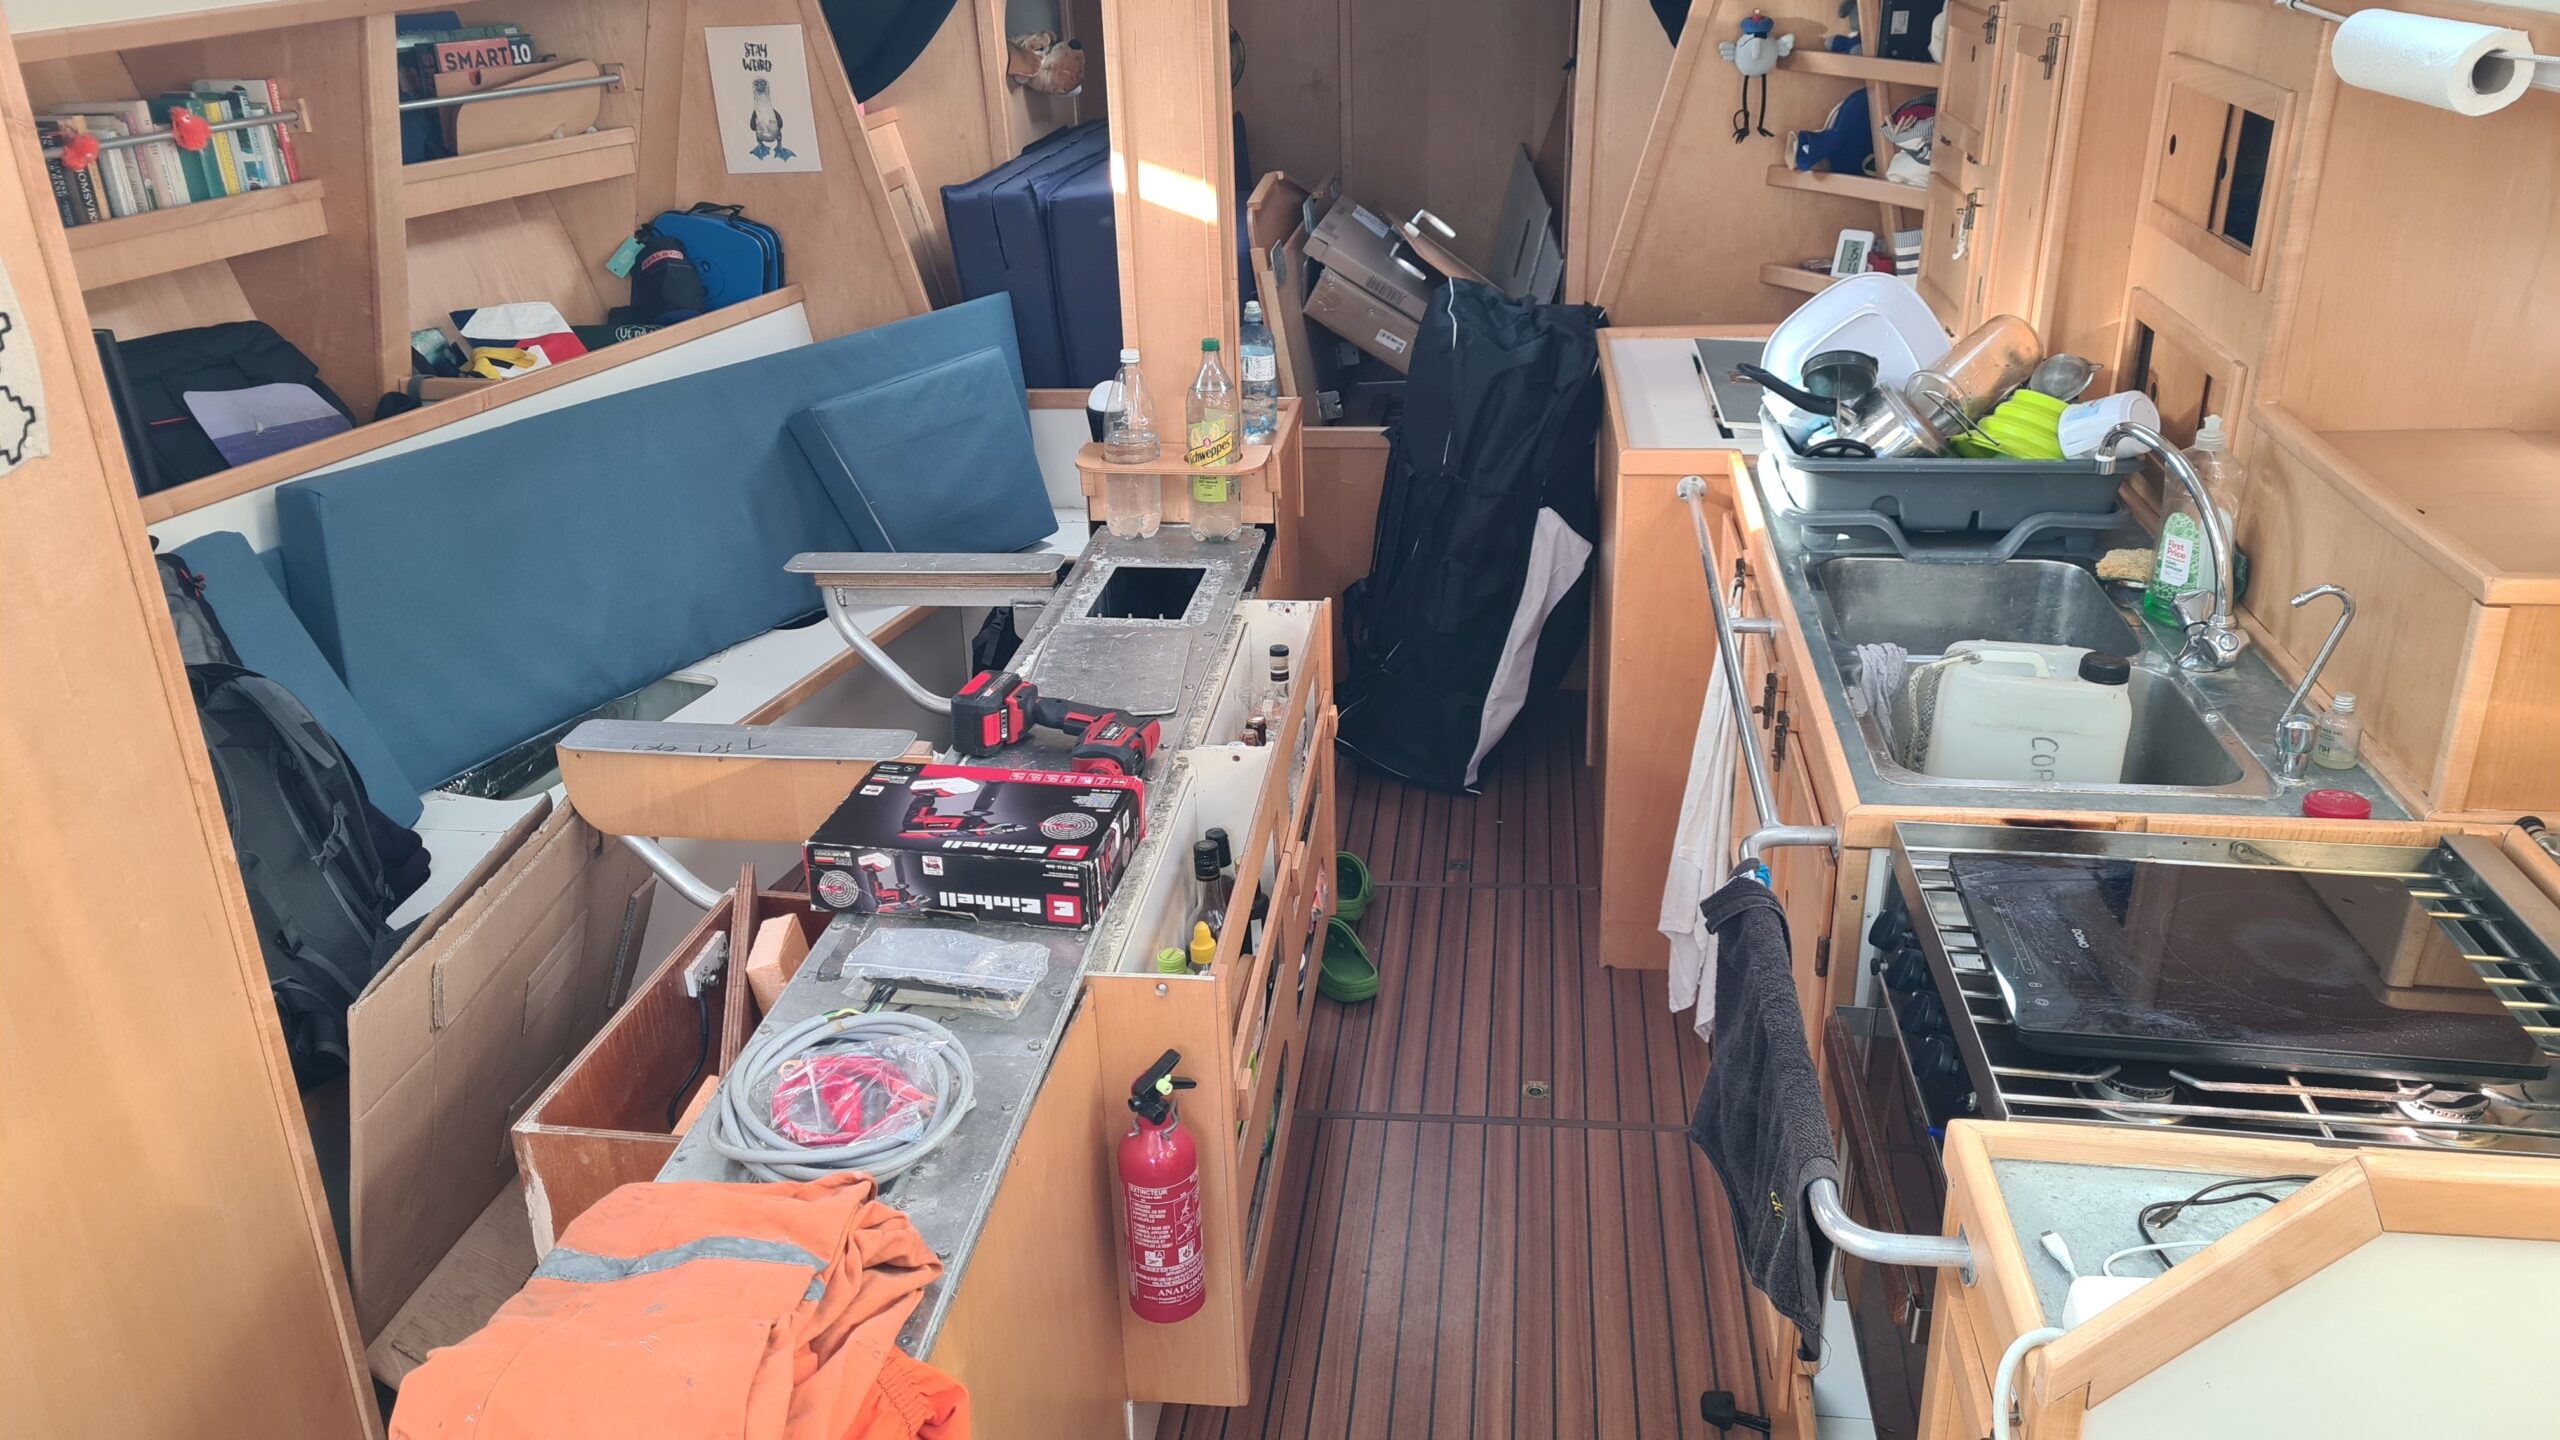
The more you take it apart, the messier it gets…
The dismantling continues. We remove the engine battery and its box, which block access to the stuffing box, then the entire solar panel installation that we want to replace. Between two stripping sessions, we tirelessly scrape away the silicone sealant that ensured watertightness of the centreboard trunk – which we will redo before relaunching.
And some parts are not easy to remove… The mainsail halyard clutch for example (which no longer clutches anything so well), refuses to let go of the mast: the stainless-steel screws holding it are seized by galvanic corrosion with the aluminium. We have to heat, hammer, drill, grind, then drill again before we can finally retrieve it. It takes several hours, but we succeed—without damaging the mast!
Meanwhile, at Camille’s family home in Kersolf, the washing machine keeps humming…
November 26 – December 12: more boatwork
As usual, we throw ourselves at the tasks. The few “resting” days (when we don’t drive to the boatyard), are spent searching for the parts we need and placing order after order. Each parcel received unlocks a new action, allowing us to progress in the story—just like in a video game!
Level one: the expansion tank of the water heater. The old one had been leaking since Lerwick and had turned into a real pile of rust. We find a similar model, and after a crash course in pressure calculation formulas used in freshwater systems and for hot water expansion, we adjust the nominal pressure of the membrane with a bicycle pump and install the tank. Now we just have to check that nothing leaks when we refill the tanks…
Level two: the anchor chain. We want more length on our main anchor and invest in 100 meters of new chain. To load it onboard (by hand—after all it “only” weighs 2.2 kg per meter…), we first have to remove the existing 60 m to make space. Once the new chain is aboard, we need to find a storage solution for the old 60 m (well rinsed and repainted), which now become our secondary anchor chain. We opt for a large plastic rubble bag, which should—hopefully—keep it in place at the bottom of the chain locker.
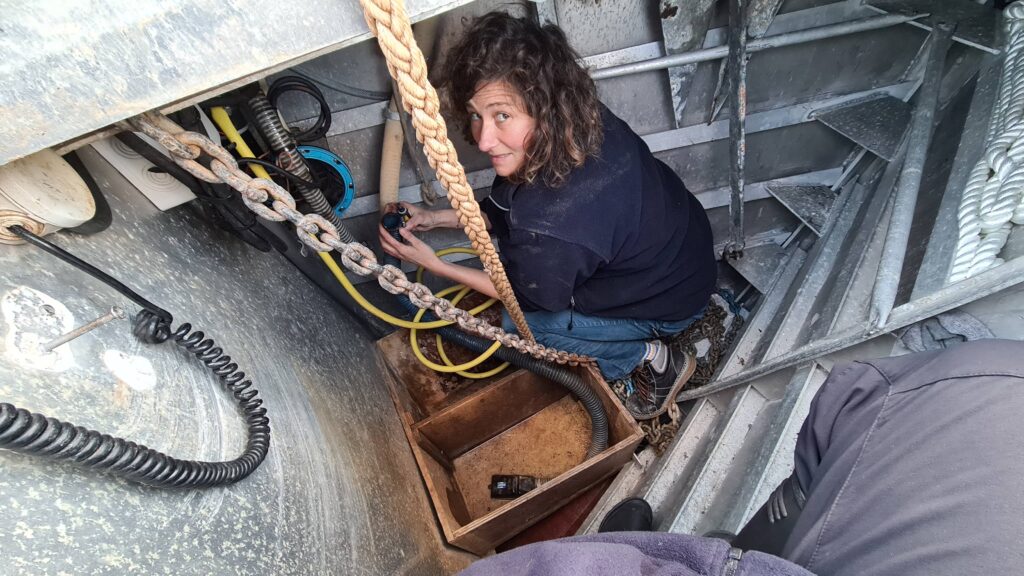
We took advantage of having an empty anchor locker to repair the bilge pump, which had stopped working.
Level three, jigsaw-style with lots of pieces: upgrading our solar panel and battery system. The biggest challenge is finding panels with exactly the right dimensions for the existing frame on the arch, and with electrical characteristics close enough to be wired together. After hours of searching, we find a solution to install 290 W in the space which was barely holding 160 W with the old setup. The old, quite rusty connection box gives way to brand-new MC4 connectors, and we also replace the charge controller to match the new production capacity. The three old batteries, really at the end of their life over recent months, are replaced by two new, slightly larger ones that should give us better autonomy at anchor. We can’t wait to test all this now that everything is installed—we just need… some sun…
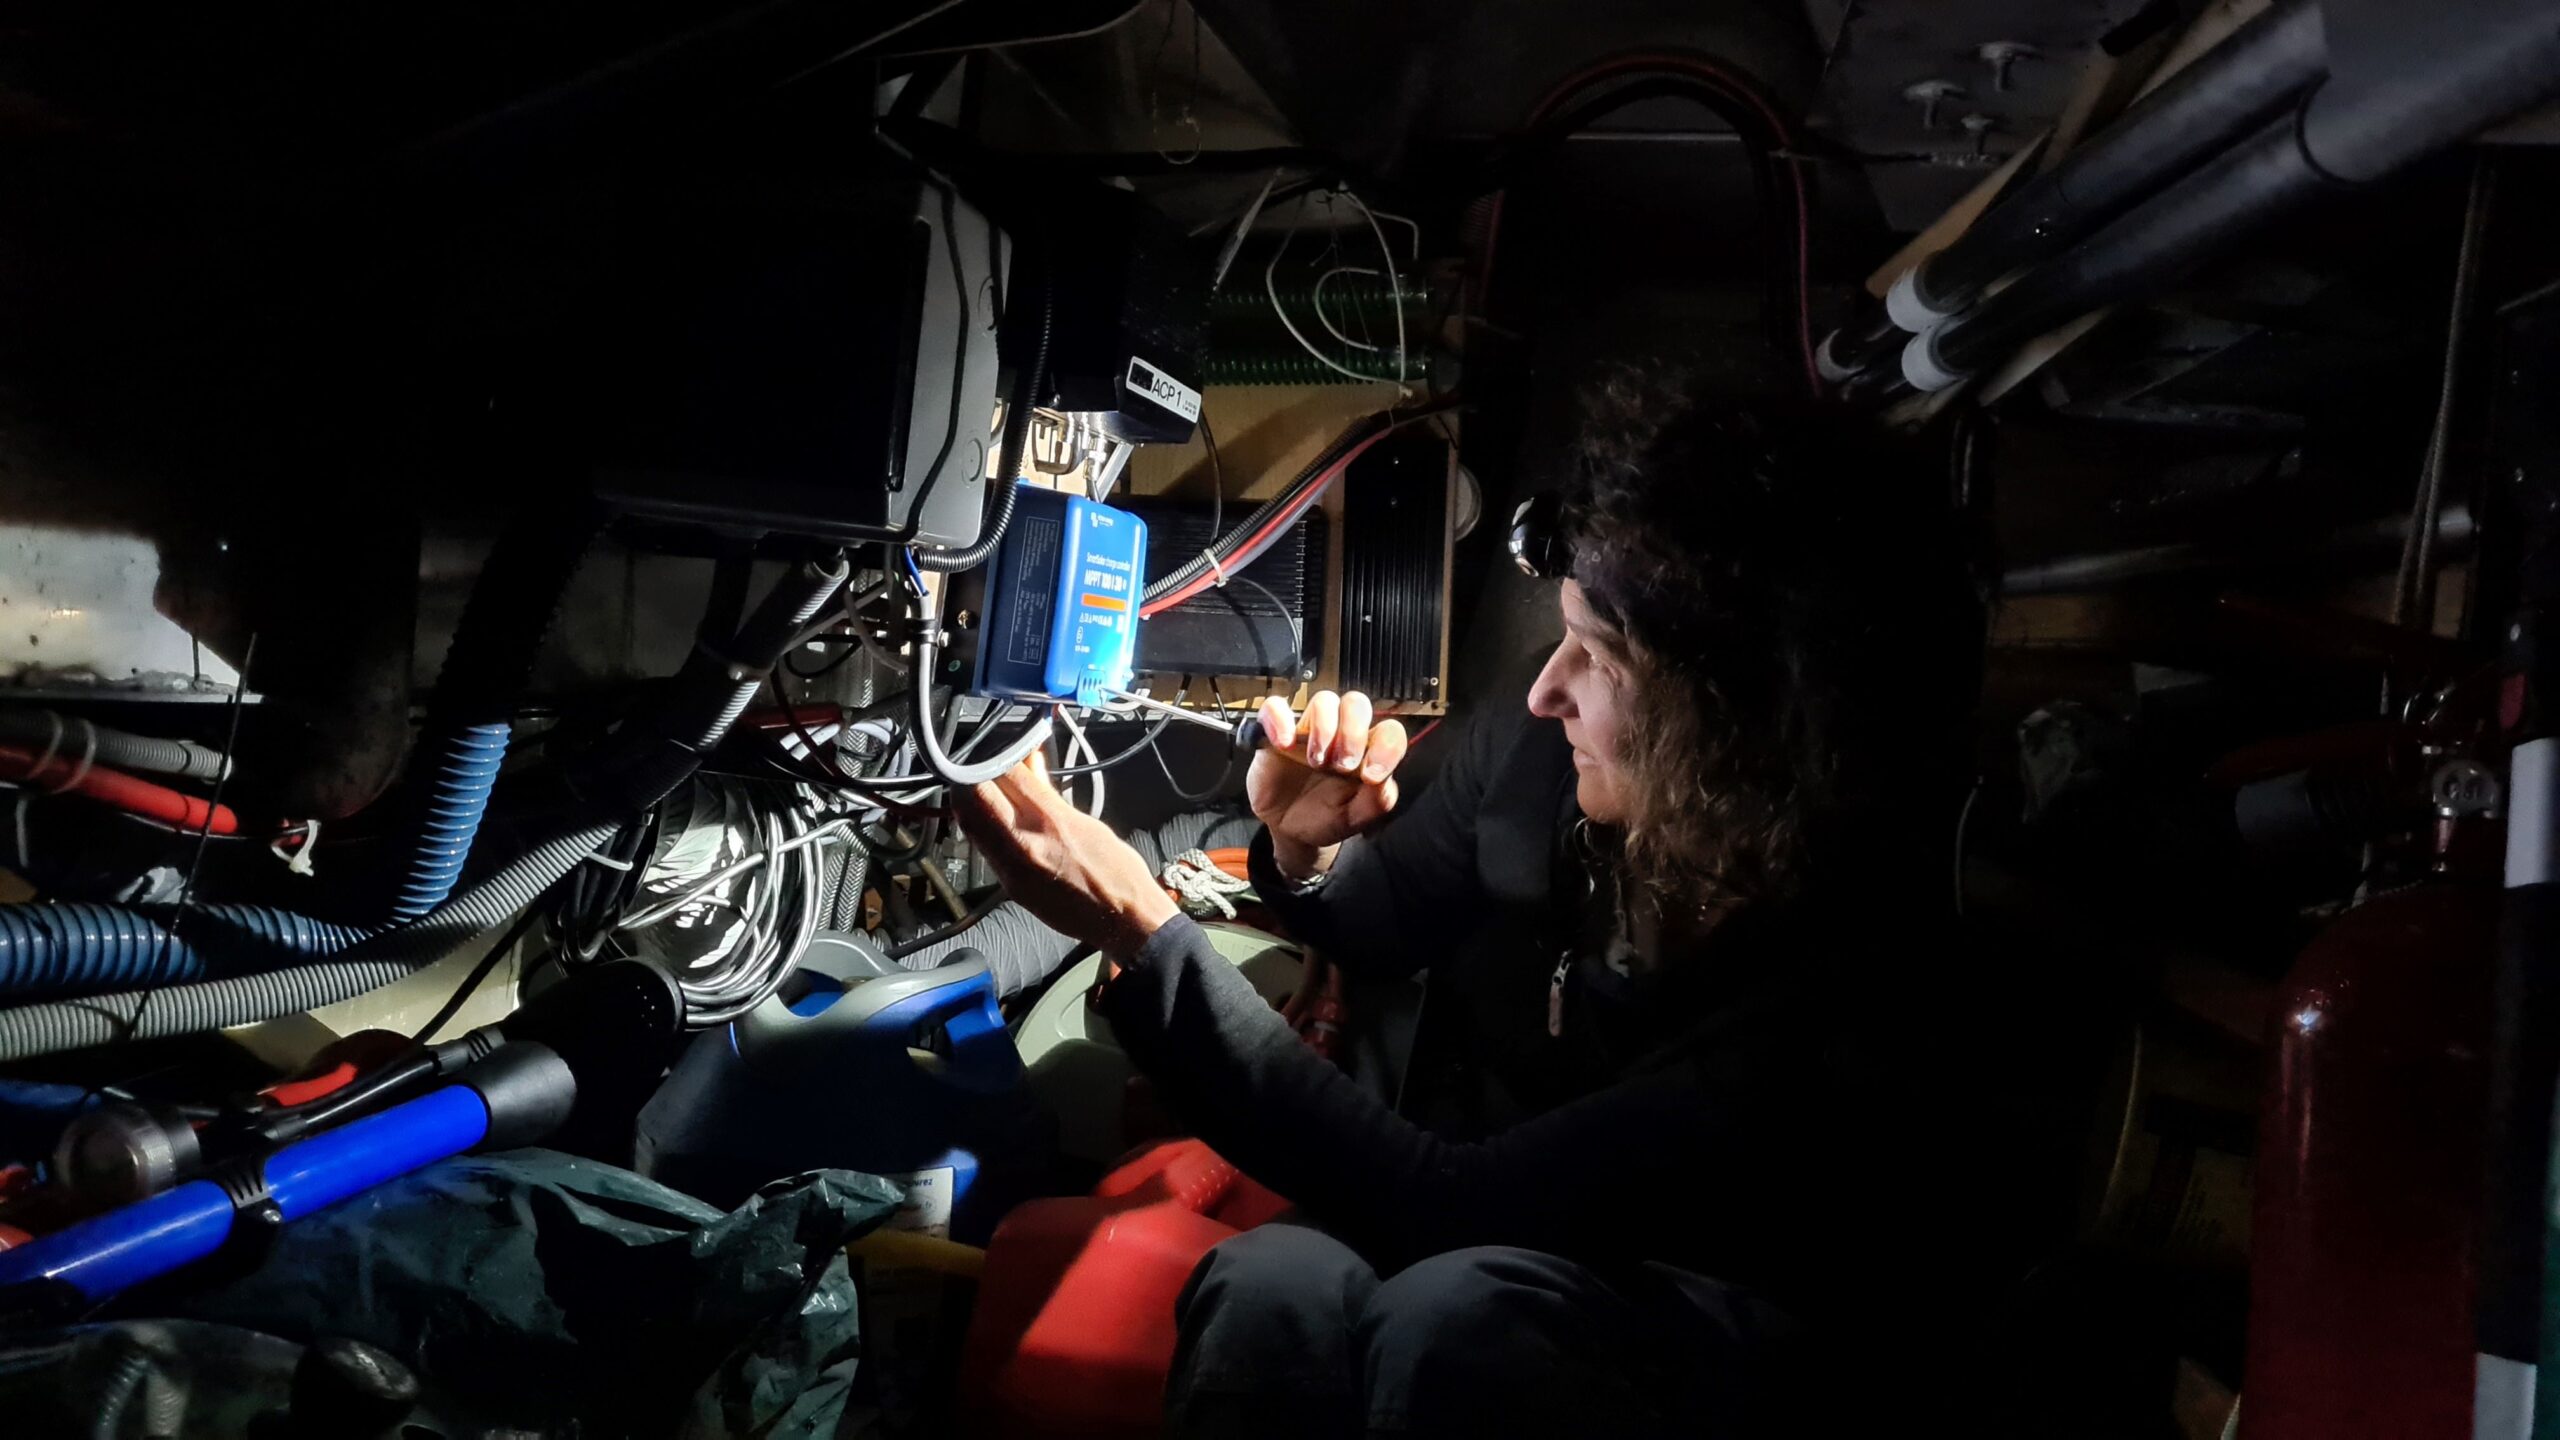
On rainy days we plug the equipment in the locker
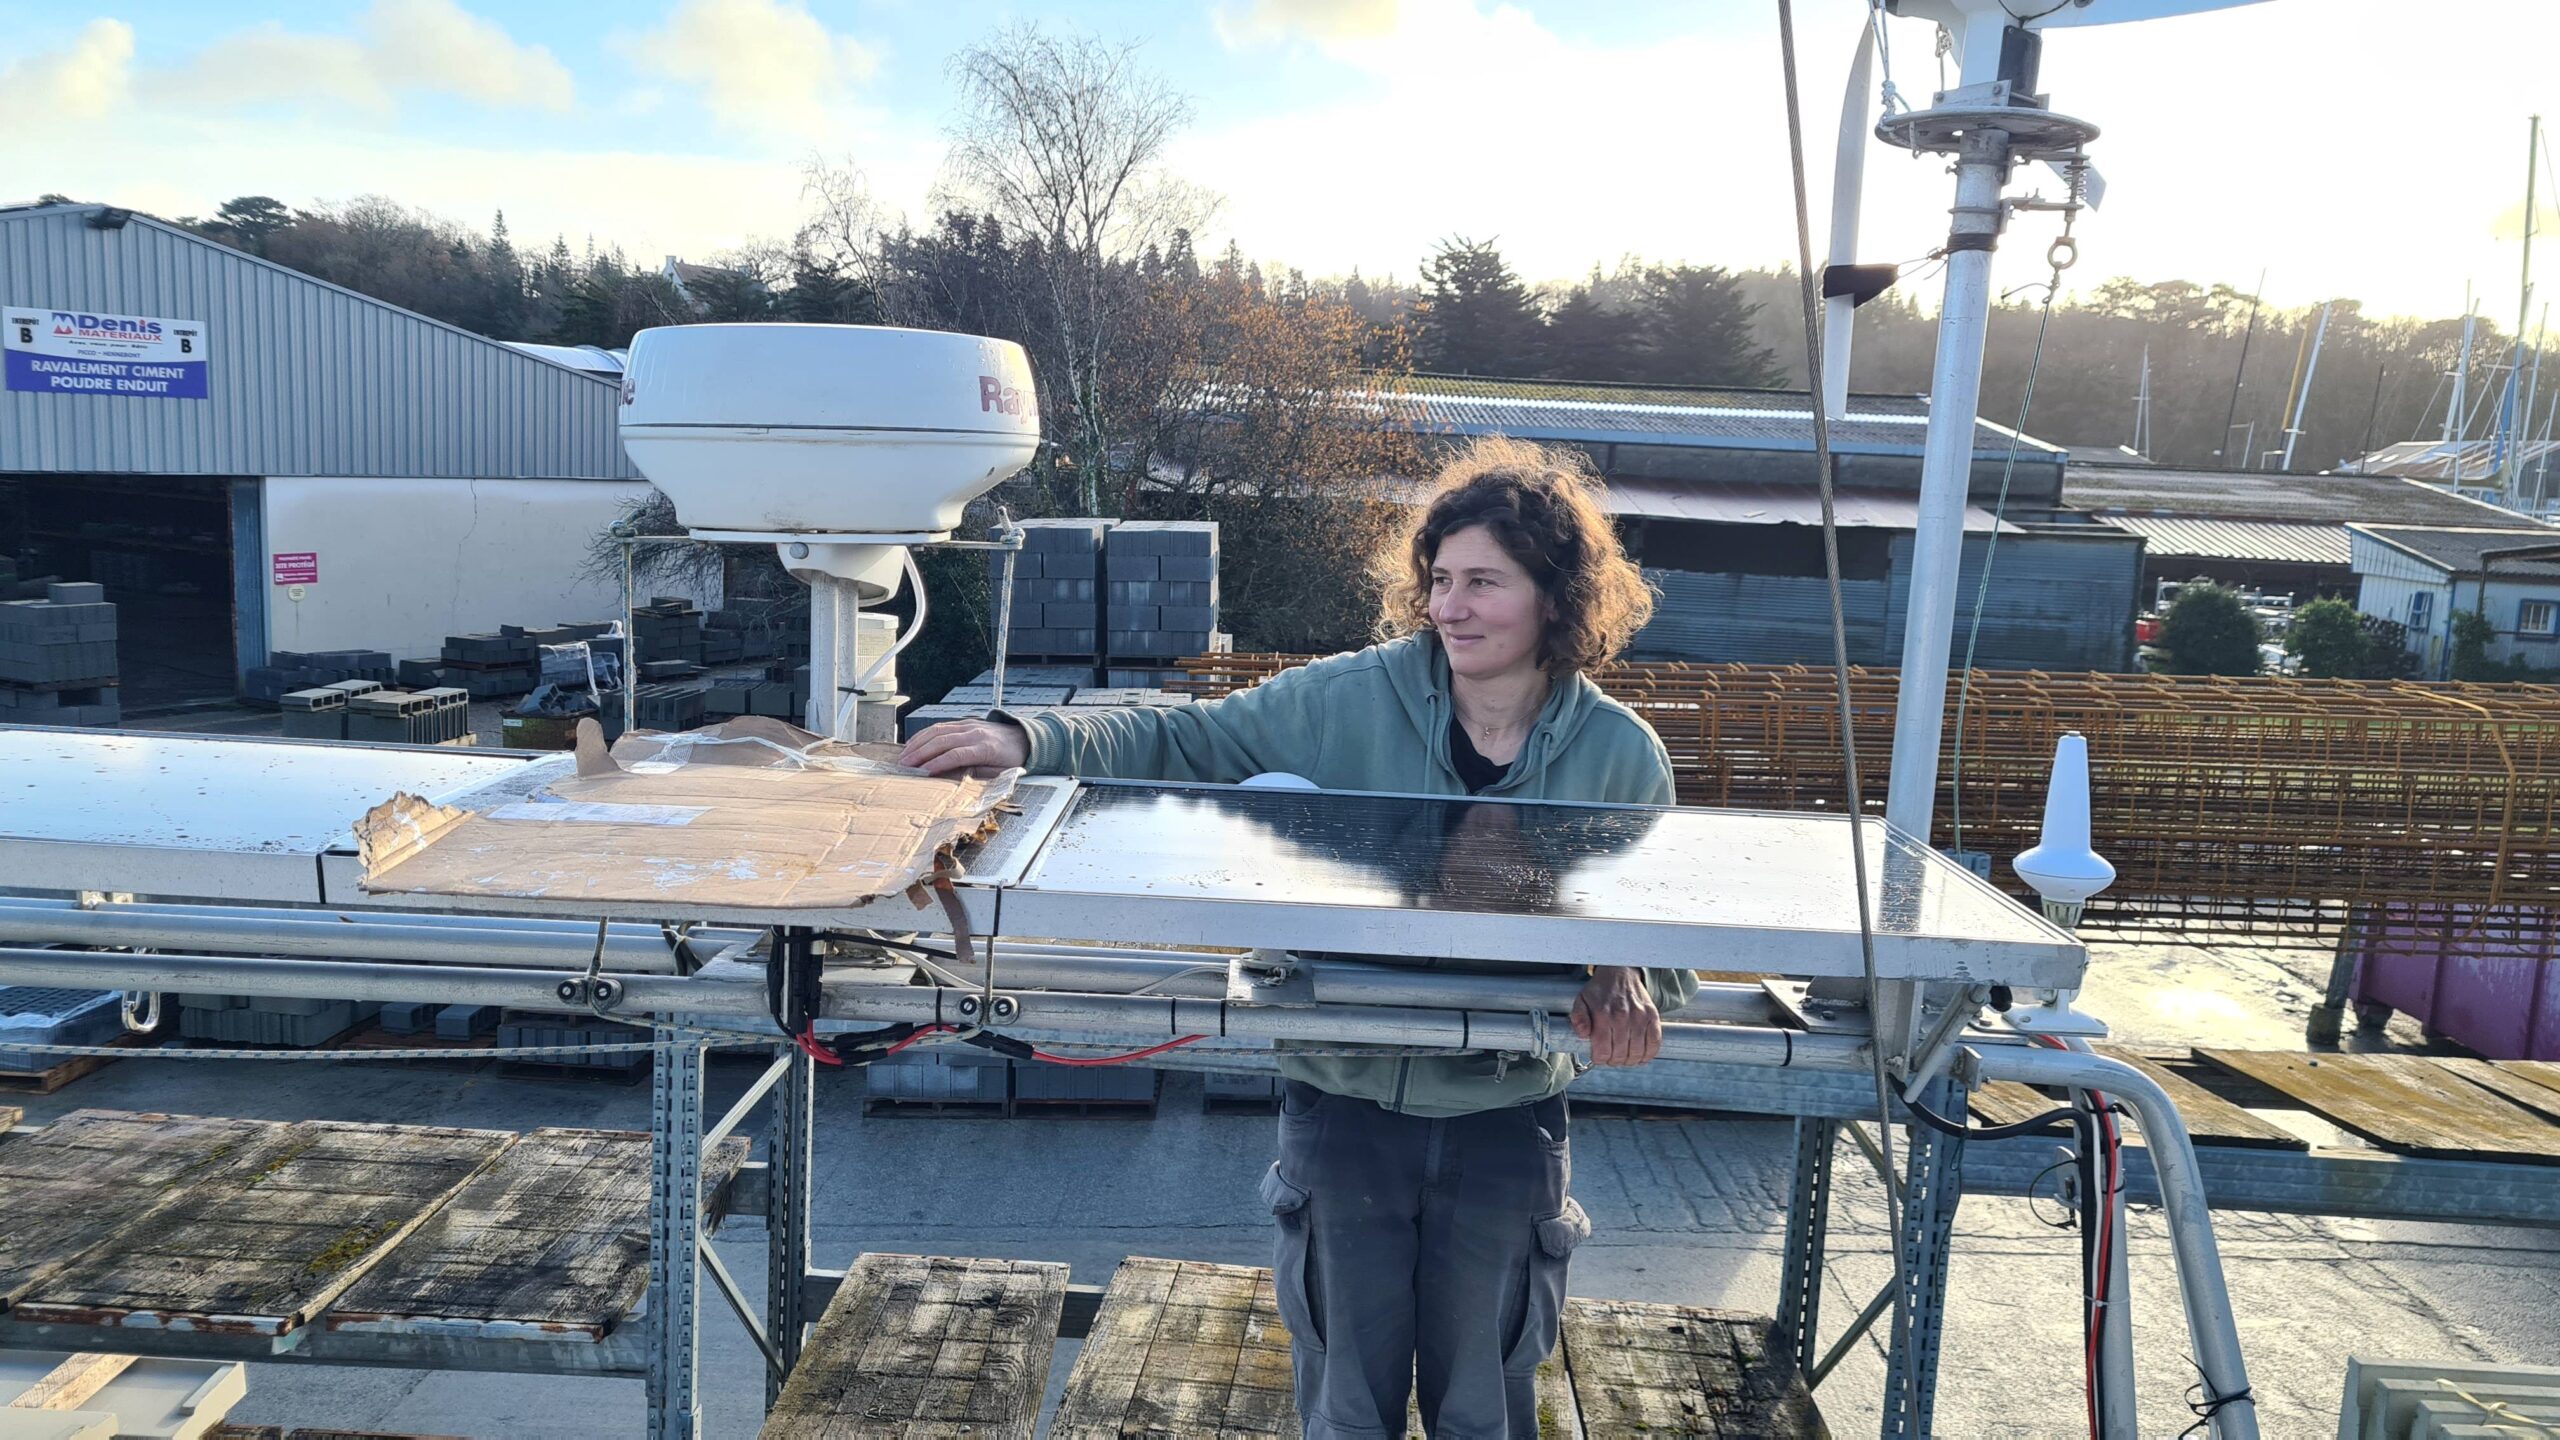
When the sun shines we test the whole installation
Indeed this Breton autumn is living up to the region’s reputation. Dry spells are rare and not always long enough to let the hull dry. At every dry opportunity we grab our brushes and move forward the hull painting. Sanding is a tedious work (a 12-meter boat is big…), but applying the antifouling takes less than two hours. A few finishing touches are still missing, but the essentials are done… just in time before the next storm!
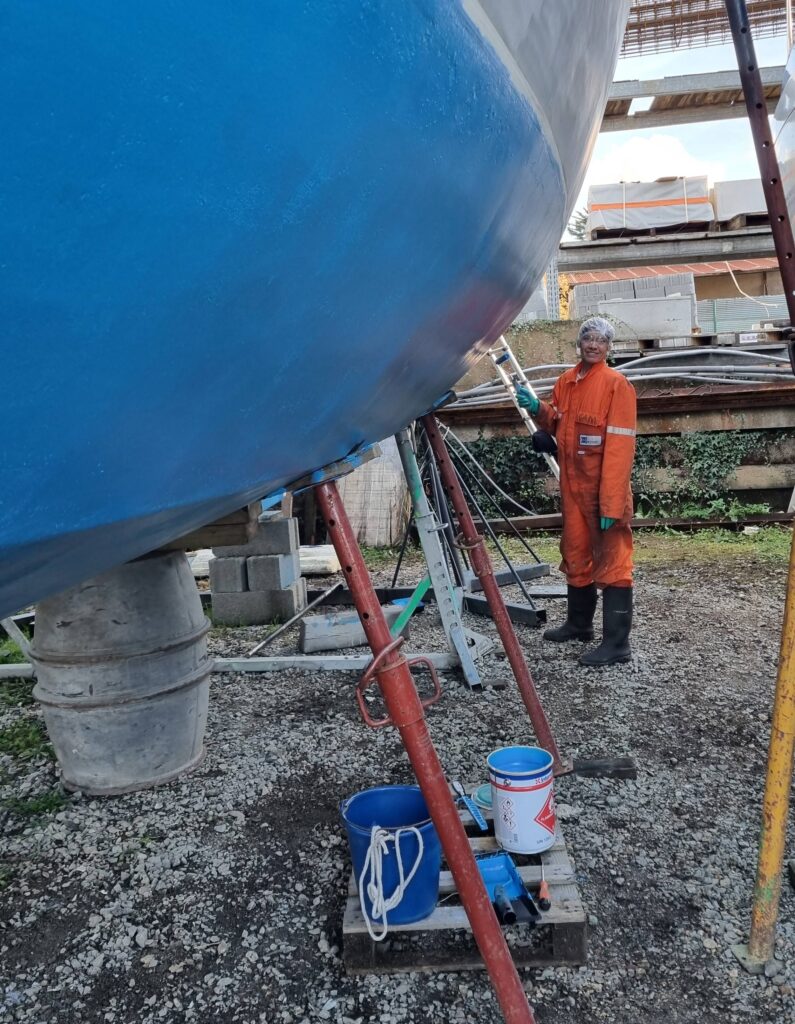
Surprisingly enough, we chose “bobby’s feet blue” for the antifouling colour!
On drizzly days, we can work on the centreboard. We carefully flatten the Ertalon pads that had swollen and add a fifth bolt in the middle to limit deformation. But will this be enough to prevent it from rubbing in the trunk? To be sure, we develop a rather precise measuring technique using… a curtain rod! This small telescopic rod allows us to measure the exact width of the trunk. We then take it next to the centreboard, where we have fixed two straight battens on the outside of the pads. If the rod set to the trunk’s width fits between the battens, the centerboard is still too wide! We sand another two millimetres and decide that it’s enough. Final verdict when we bring the centreboard back up…
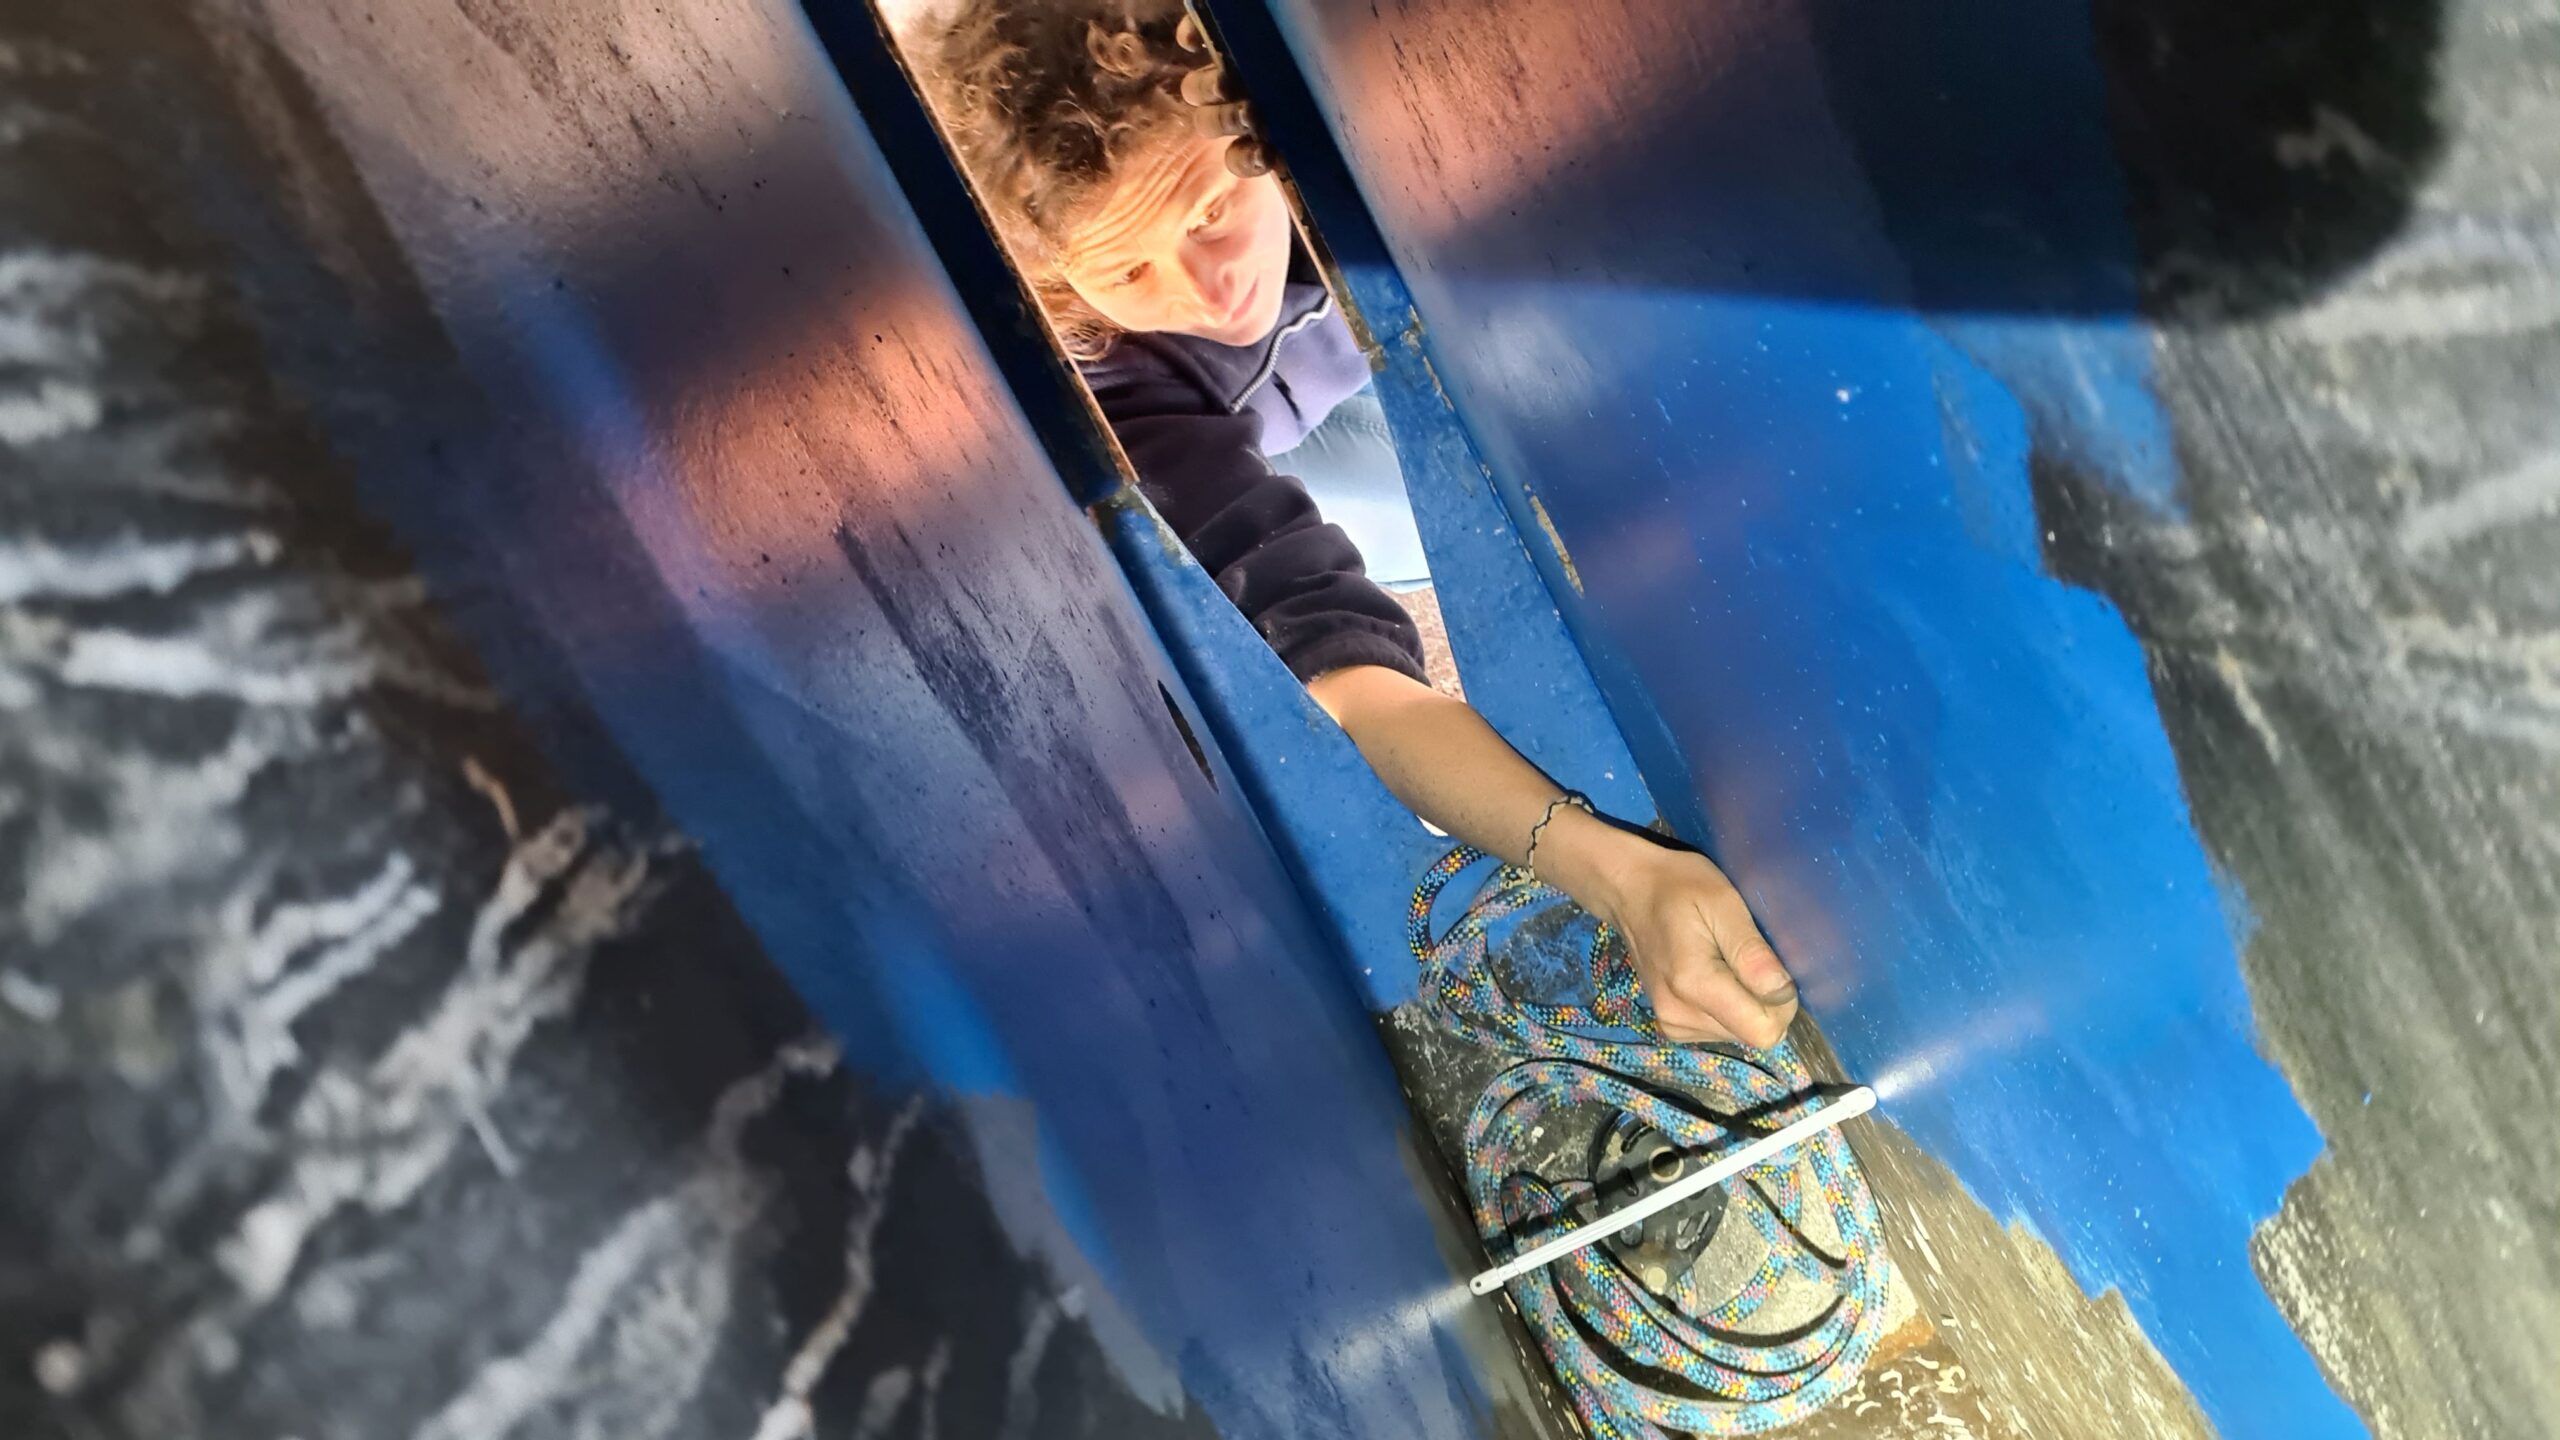
Adjusting the rod perfectly to the width of the centreboard trunk…
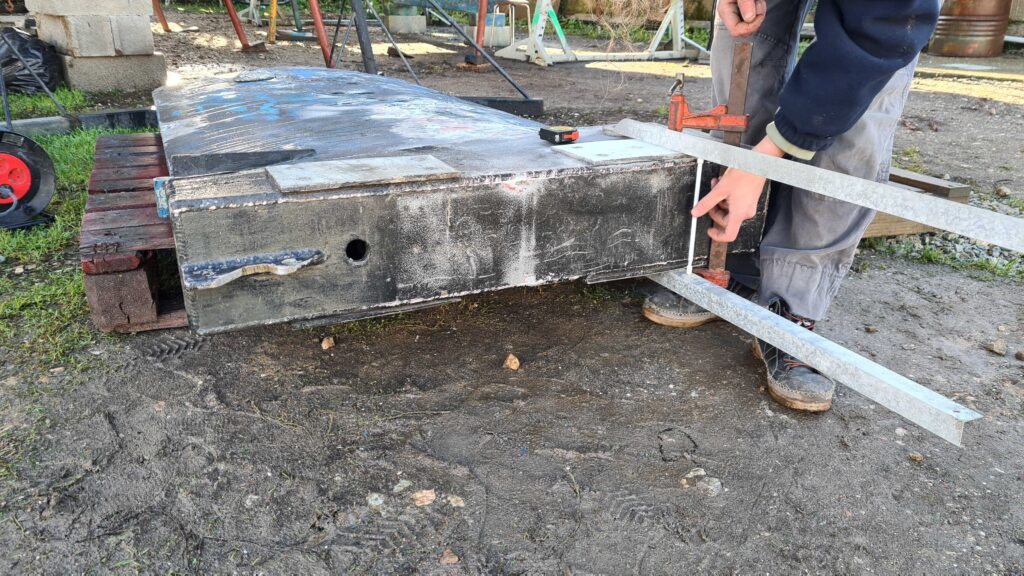
…checking the width of the centreboard: if the rod fits, it still needs sanding!
But life in the boatyard often means two steps forward and one step back. While cleaning some paint on the centreboard, we notice three small cracks in the aluminium plate, probably on weld plugs dating from the original construction… We had planned to involve a welder anyway, but it’s not great news…
Another major item on our list: replacing the stuffing box and the gearbox oil seal, which is leaking. We’re not particularly worried since we want to delegate this task to a mechanic. But while removing the propeller shaft, we are horrified to discover that the set screw locking the shaft in the coupling flange is simply broken… The shaft has clearly spun in the coupling, and both parts are badly damaged. We will have to replace everything so we can sail away with peace of mind, adding a major cost line to our already substantial refit budget—a real blow… That said, we finally understand why we had lost one knot of engine speed since Dover, and in fact we were very lucky not to lose propulsion entirely and to discover the issue before departure…
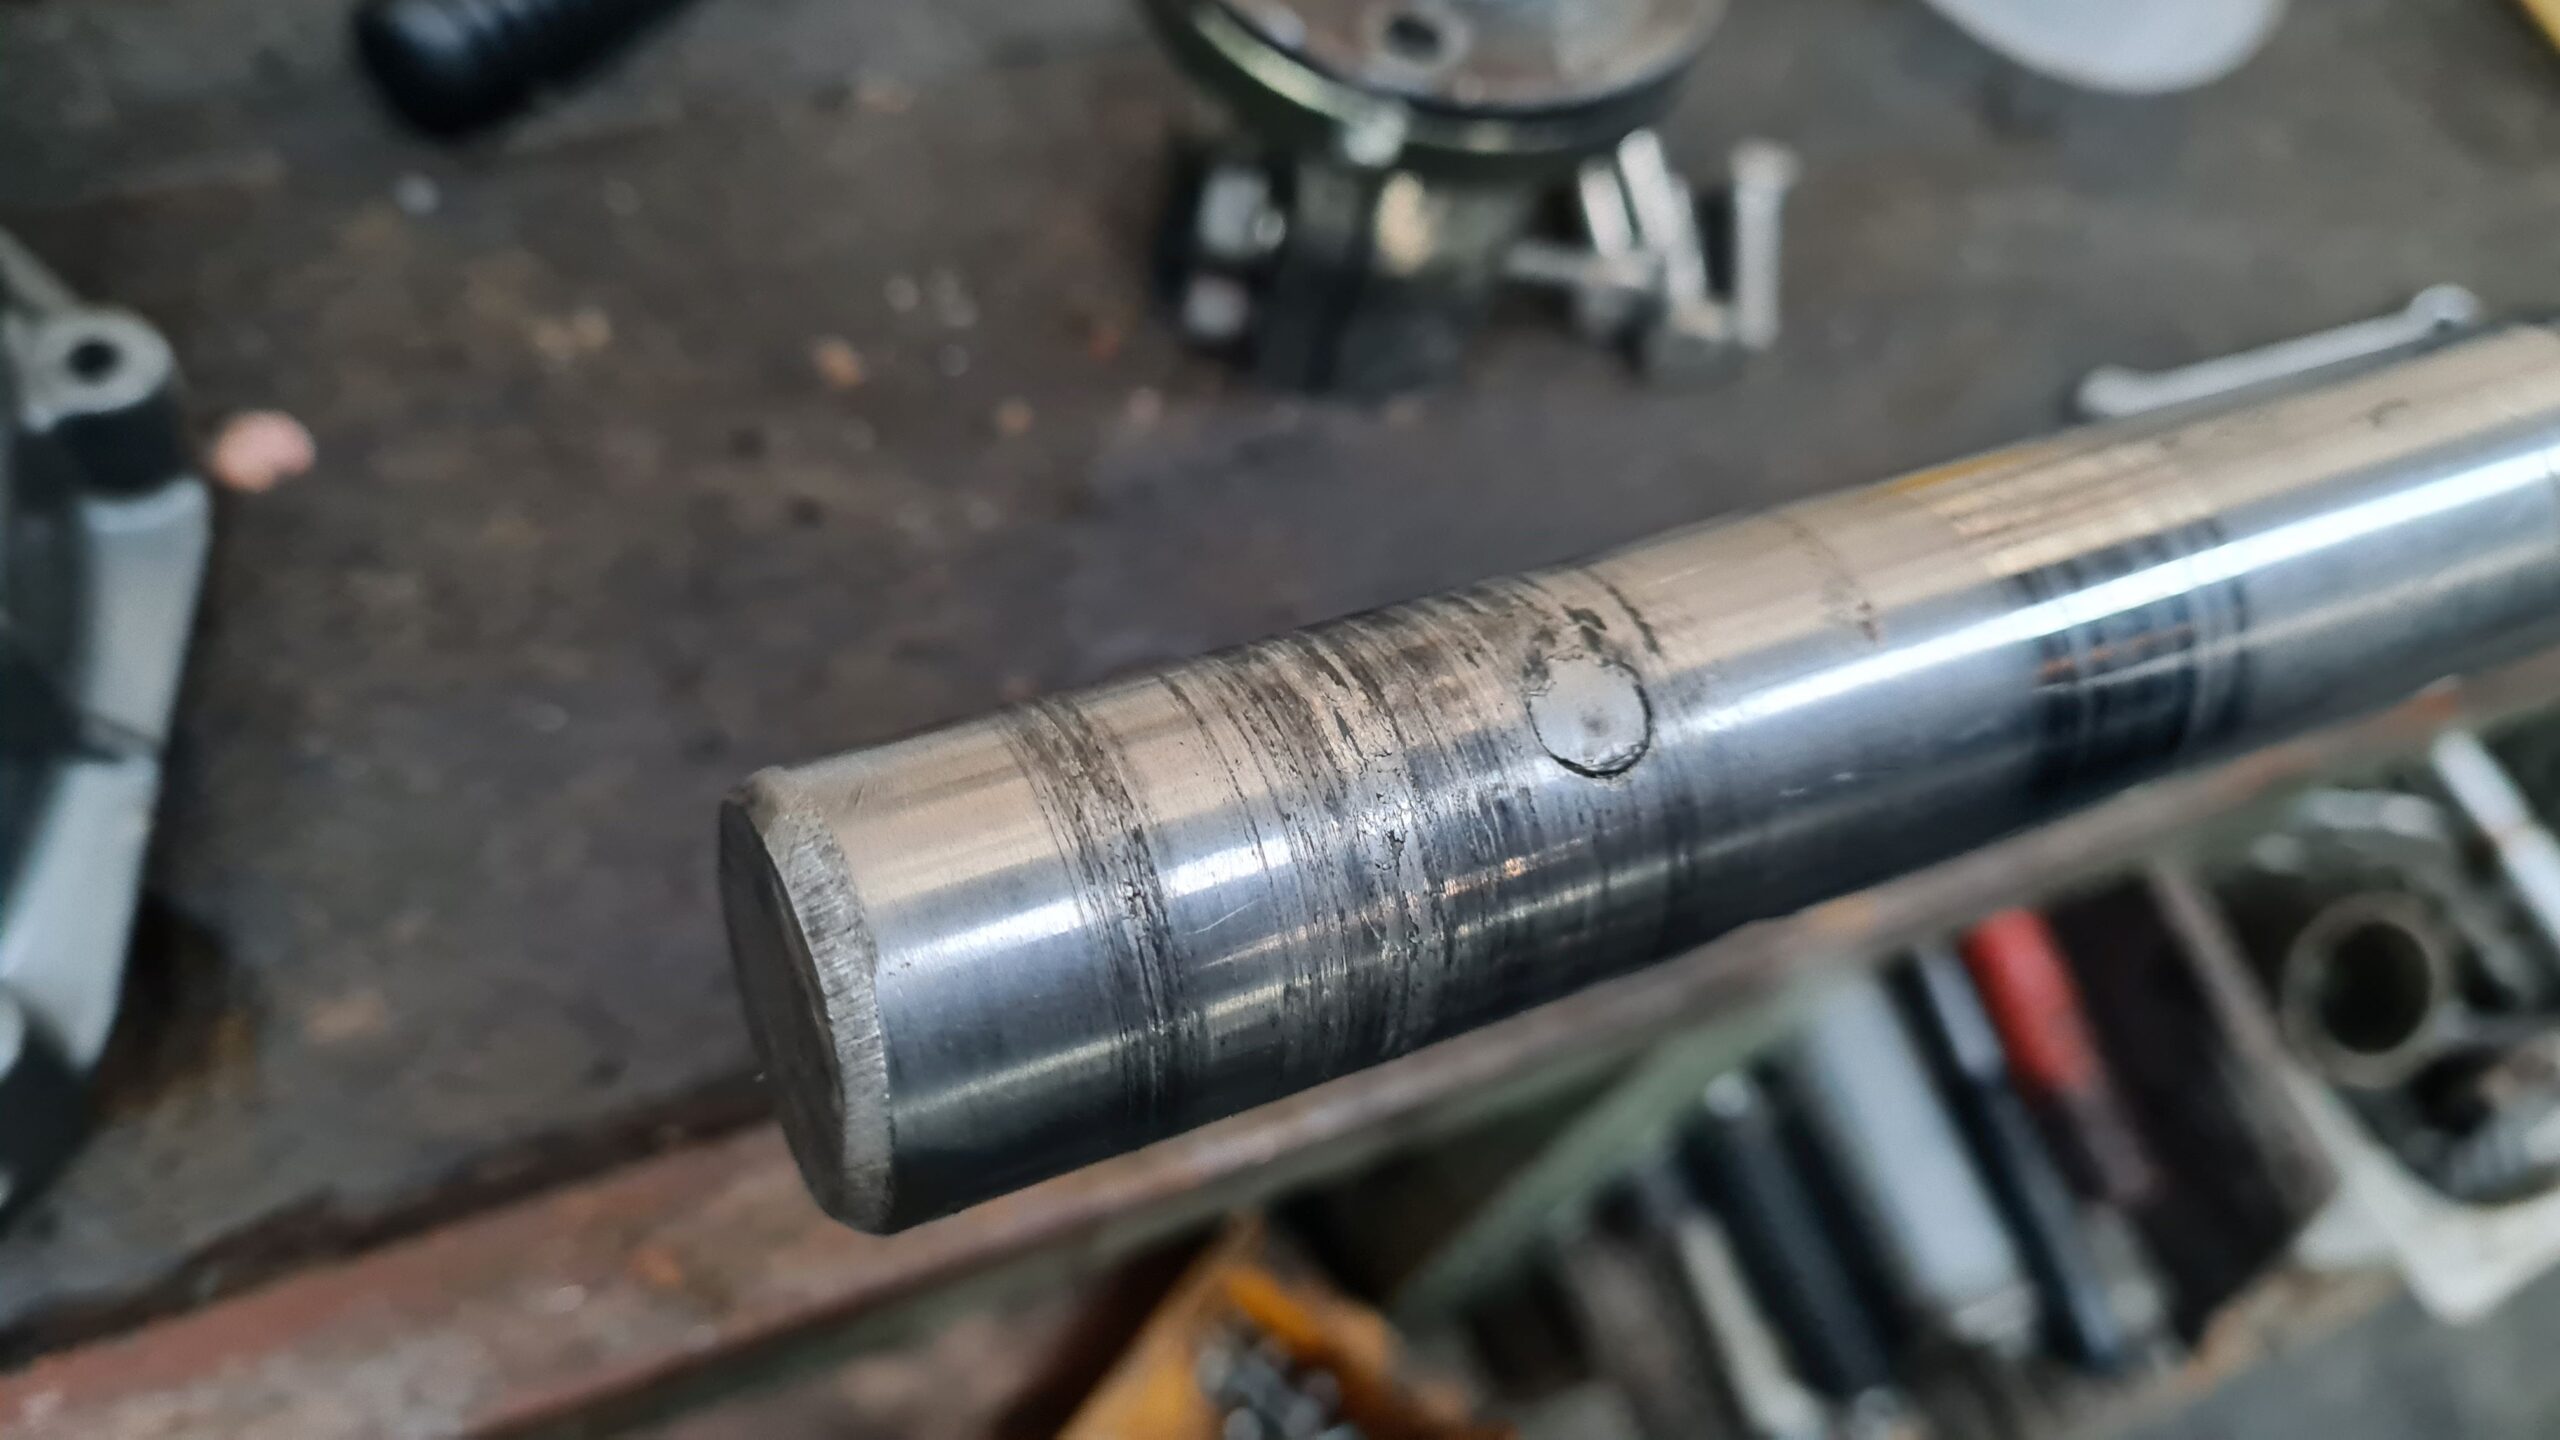
Our propeller shaft with the set screw broken inside… luckily we had decided to dismantle it at this shipyard…
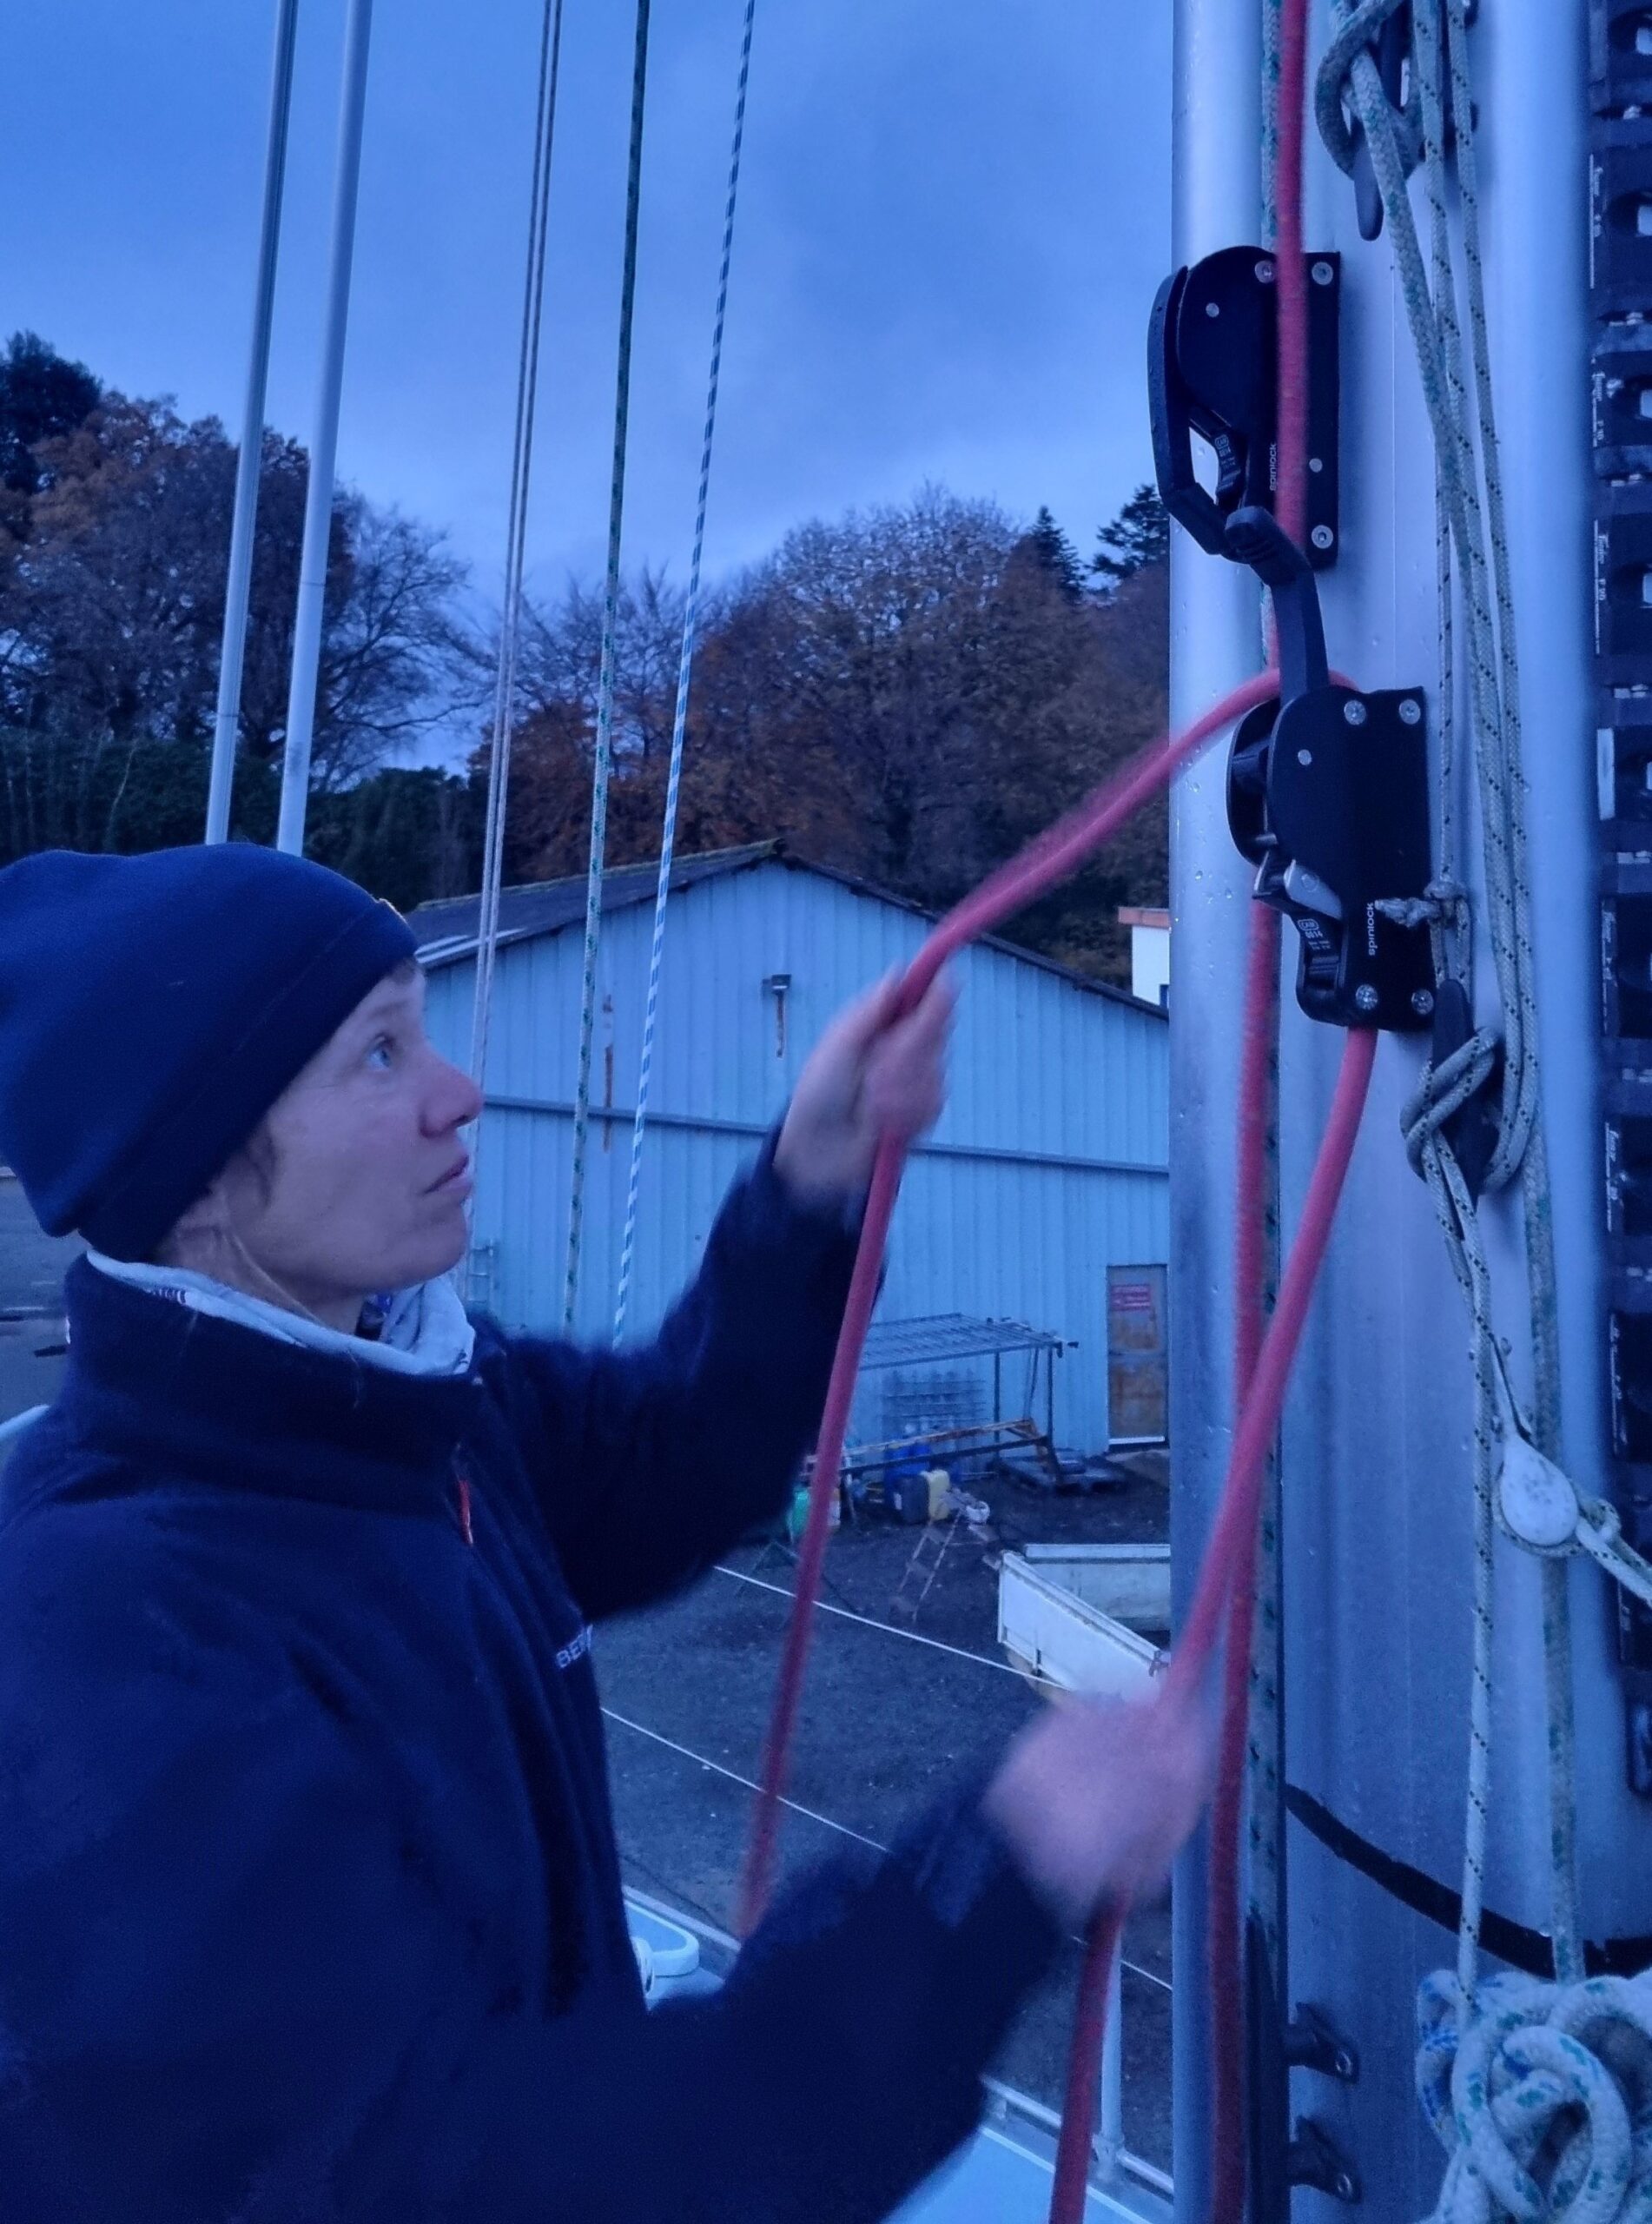
Now the mainsail will stop slipping down on its own!
To get our heads out of the engine compartment, we work on the halyard clutch on the mast. Now that we have finally, painstakingly removed the old one, it’s time to install the new one! But to do that we need to rivet a new threaded insert (the original was destroyed during removal), which requires a special tool. Unfortunately, the boatyard doesn’t have one. We knock on the door of the neighbouring yard—no luck either… We push on to the third yard on the street, where a lot on racing boats are out for repairs. We wander around the hangar, then find two guys under the hull of an IMOCA and ask them. They’re not sure, but a third person comes over and confirms they don’t have it, but maybe the rigger in Lorient will: “Wait, I’ll give you their number—and good luck with your work.” That friendly guy turns out to be Paul Meilhat—not everyone gets advice from the 5th place finisher of the Vendée Globe and recent overall winner of The Ocean Race Europe!
Unfortunately, the rigger can’t lend us the tool either, but—far more useful—he teaches us the technique to install this type of insert without a tool: you screw a bolt halfway into the insert, with a nut added on the bolt. Then you tighten the nut against the insert while holding the bolt. The effect is the same: it compresses the rivet, which collapses into place. Simple and devilishly effective!
Beyond UtPåTur, the crew also needs maintenance before the real departure. Laure attends a “long-distance cruising medical” course to refresh first-aid reflexes and update the list of medications to take onboard. We line up a few medical check-ups. A shoulder tendinitis here, a few vaccinations there… the idea is the same: fixing the mechanics and preparing a substantial inventory of tools and spare parts!
With all this, we haven’t—once again—taken much time to rest. Thankfully, Camille’s parents (who host us during the refit) cook delicious meals for us, and our friends in Lorient are there for great evenings, in town or aboard Anouhé. We also enjoy a beautiful walk along the Étel ria, which we didn’t know at all. It must be said that the sand bar at the river entrance seriously limits access by boat…
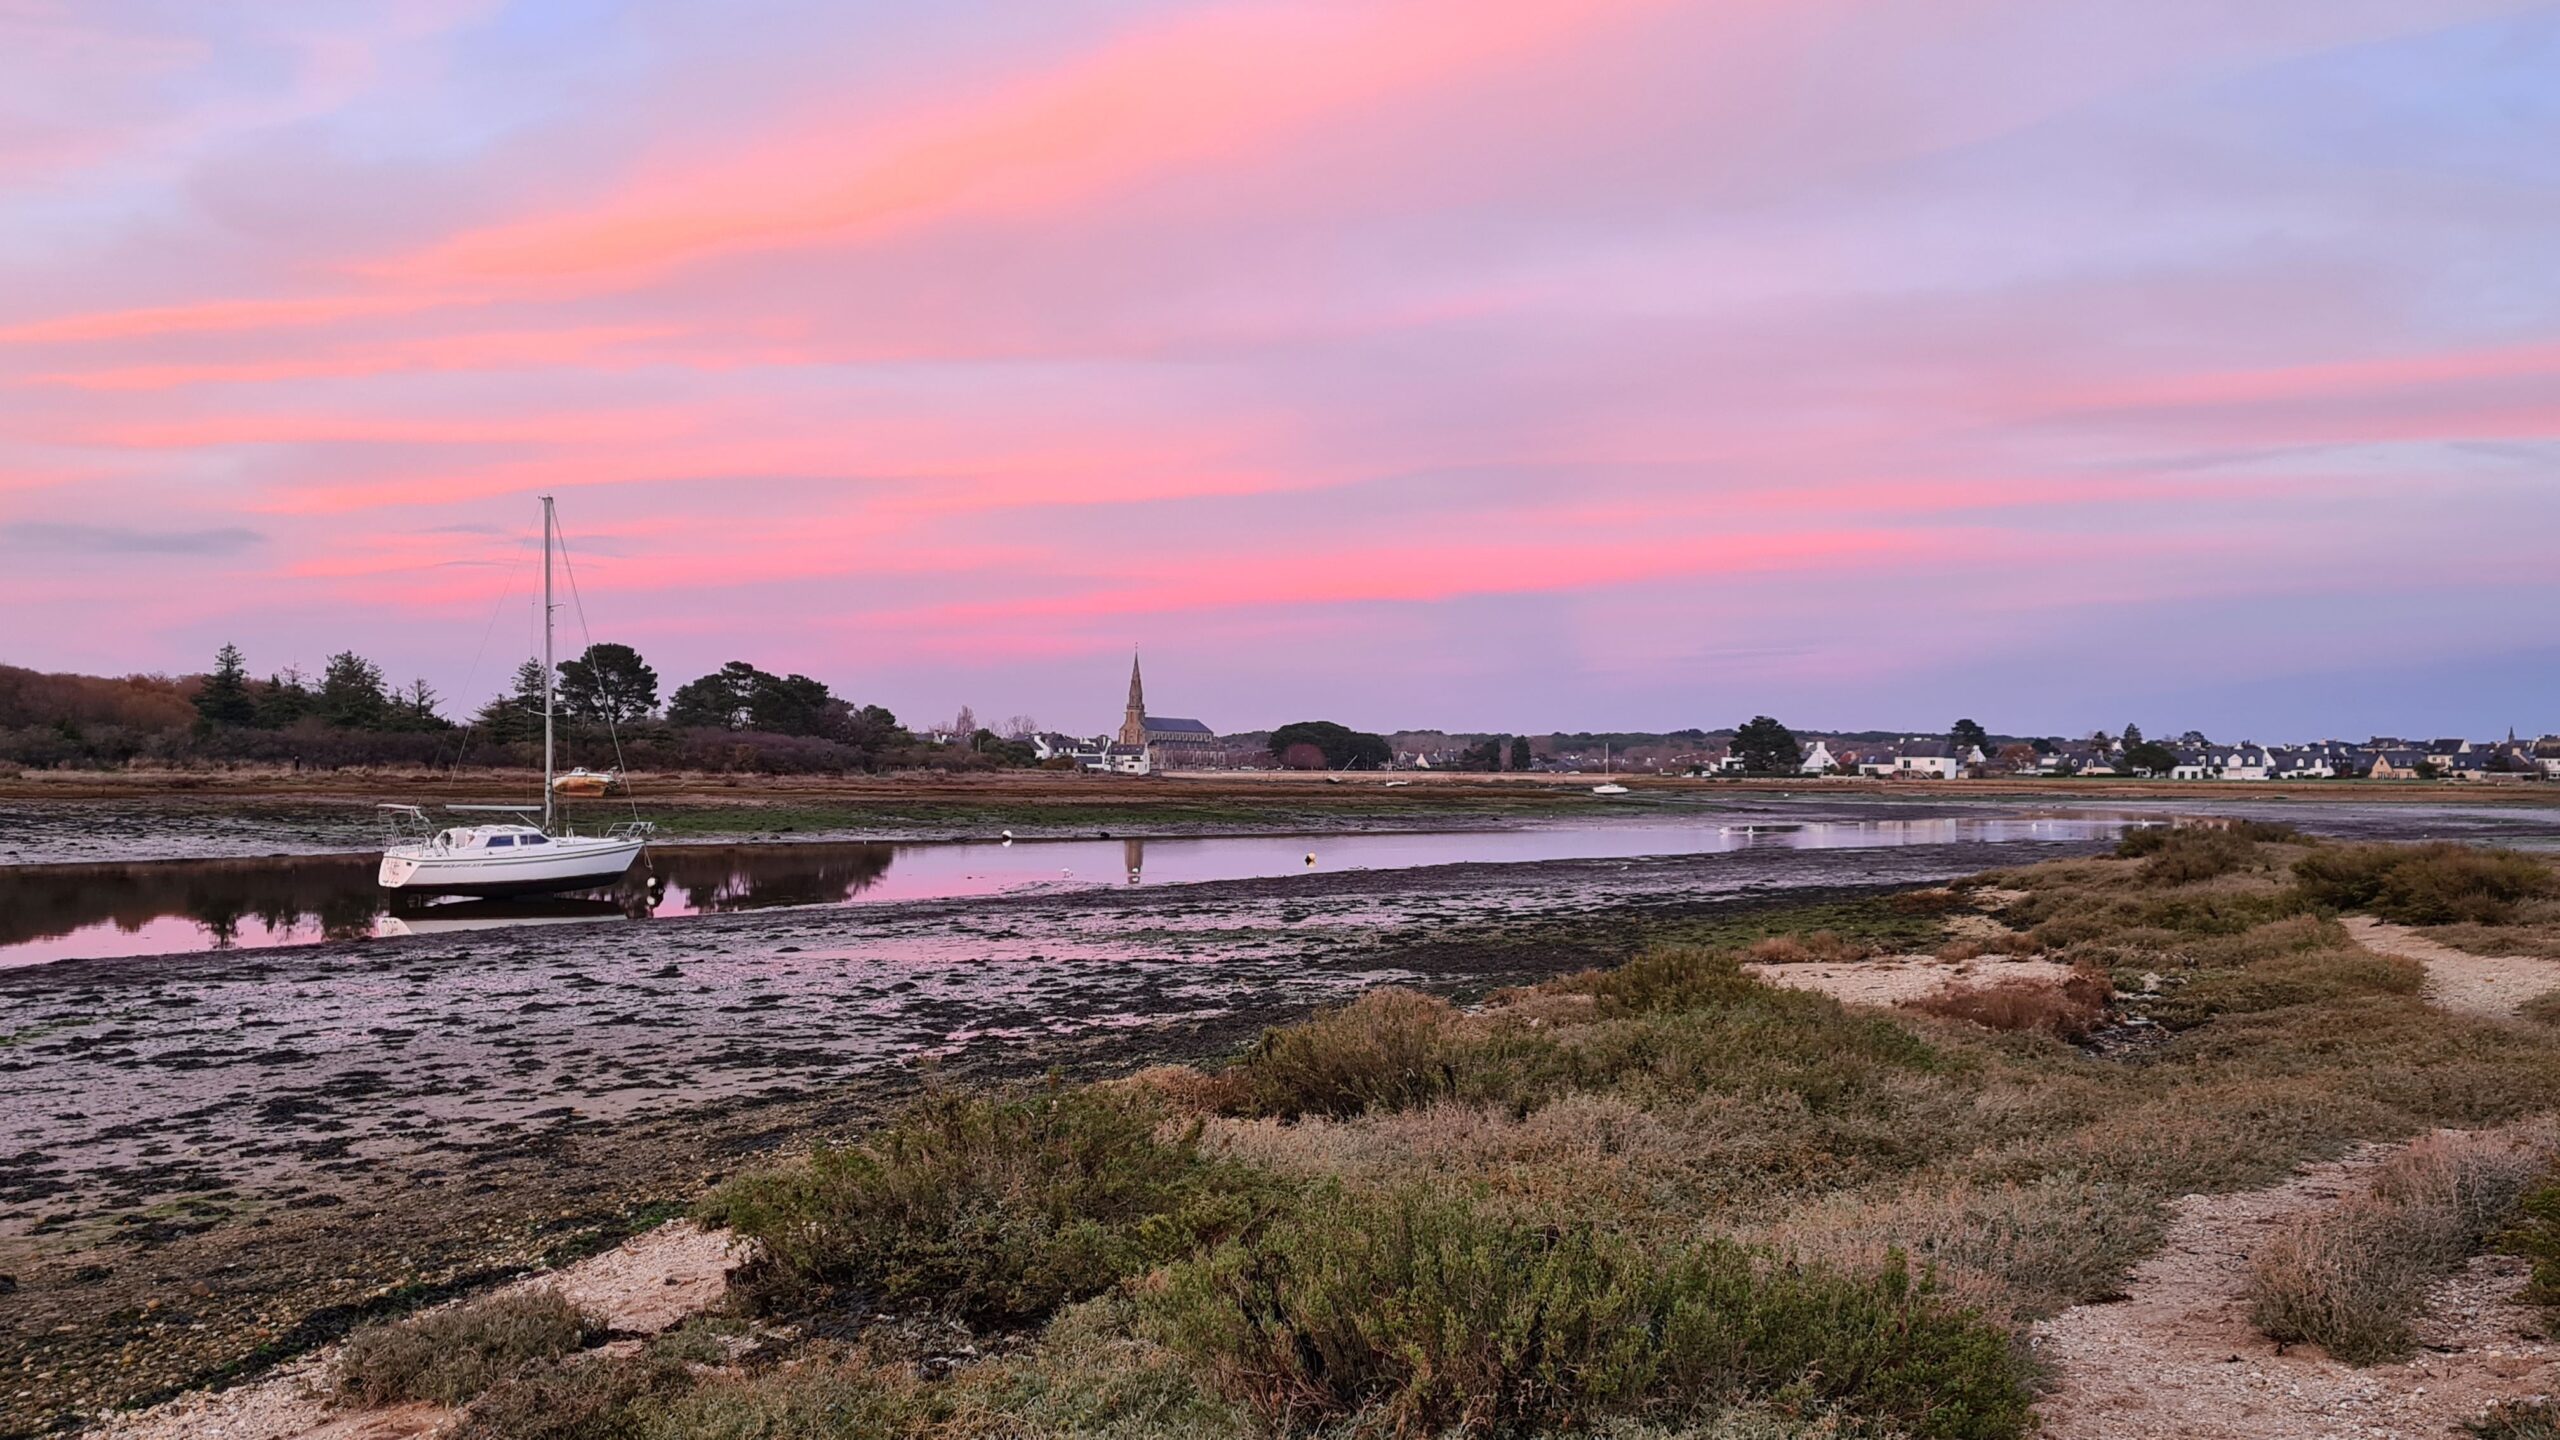
Evening light on the little sea of Gâvres
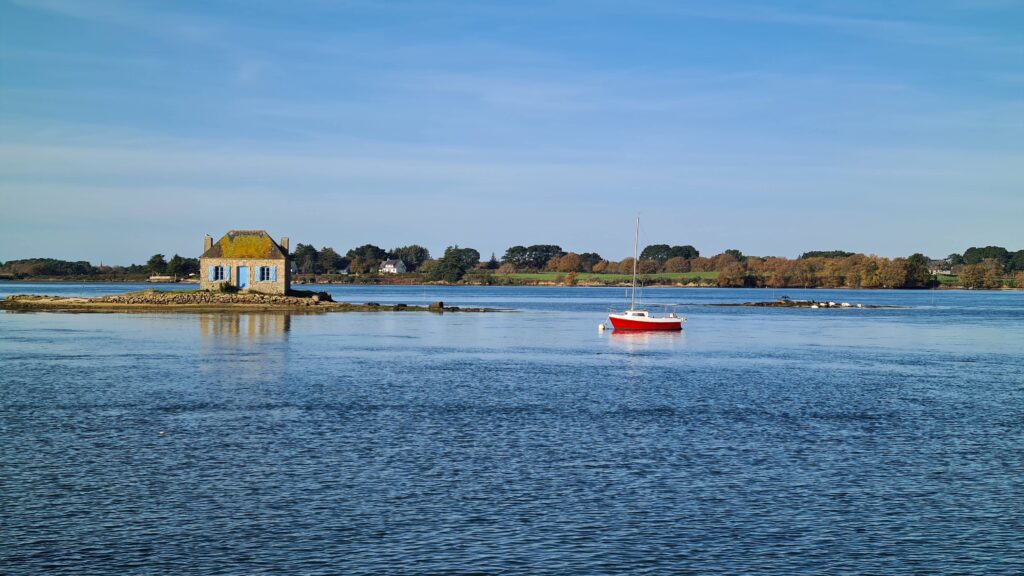
The famous house of St Cado in the Etel estuary
We still finish this first month of refit completely exhausted—and missing exercise… Christmas is approaching, and with it a few weeks of well-deserved rest!
 PDF